
When to Upscale a Shopify Product Photo Instead of Replacing It
A practical way to decide when a Shopify product photo needs a technical correction, a new lifestyle scene, or no AI treatment at all.
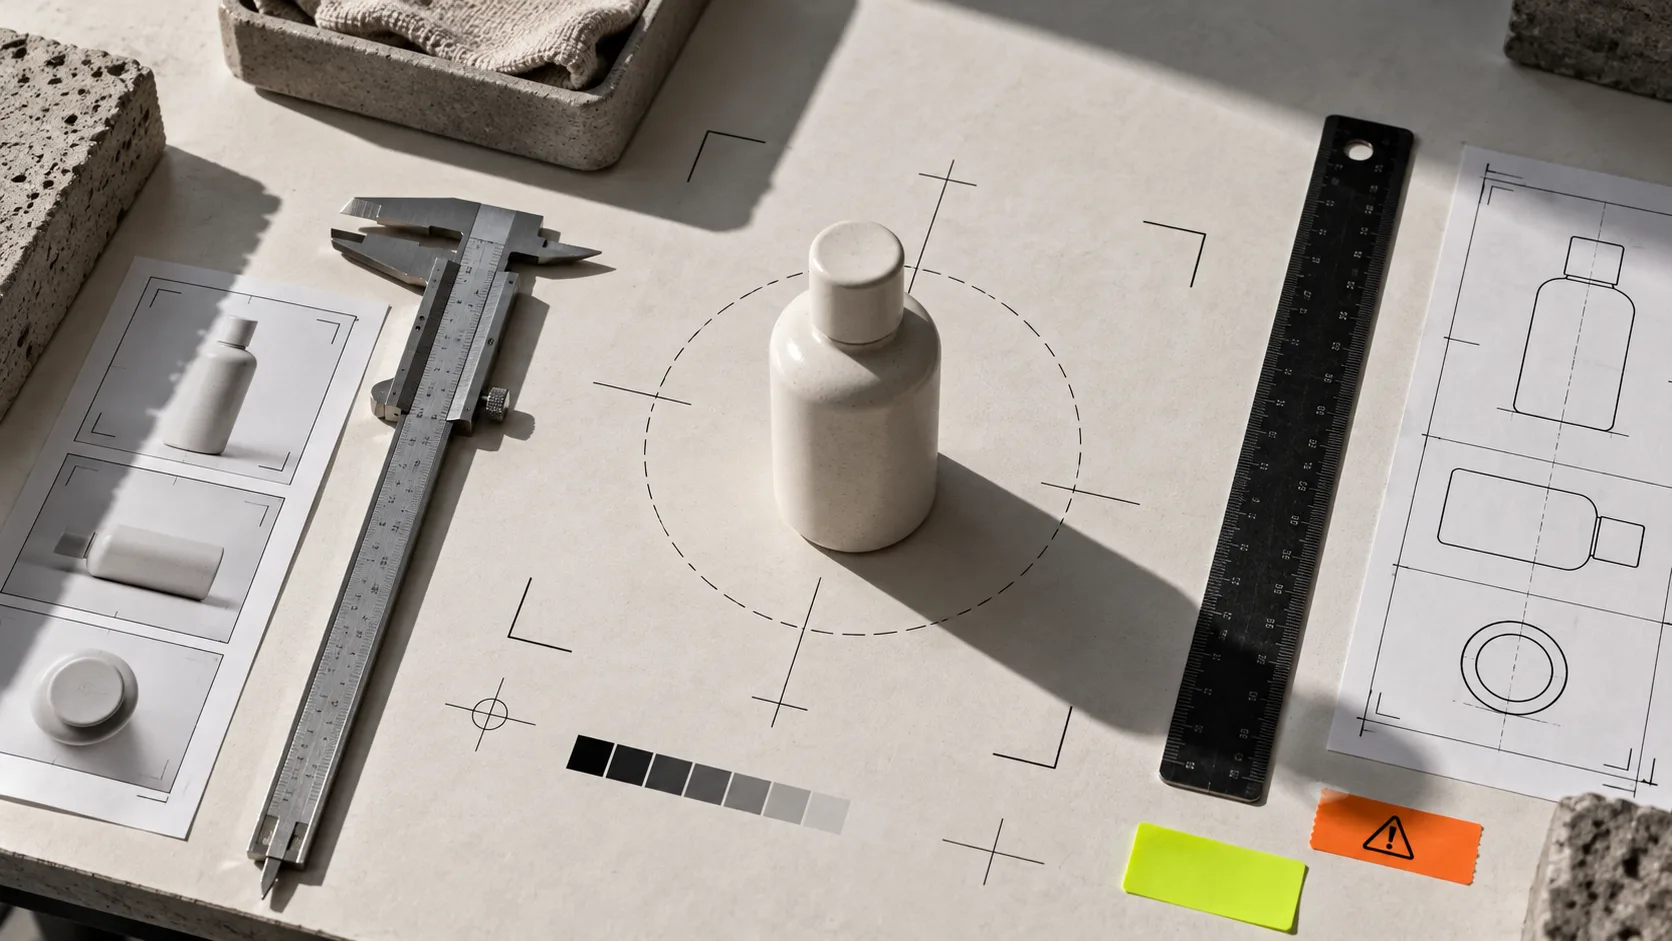
Start With the Smallest Useful Change
A weak product image does not automatically need a new background, a model, or a dramatic lifestyle scene. Sometimes the useful fix is much smaller: better sharpness, a cleaner crop, or corrected lighting. The trick is to decide that before spending credits and before you make the catalog less consistent.
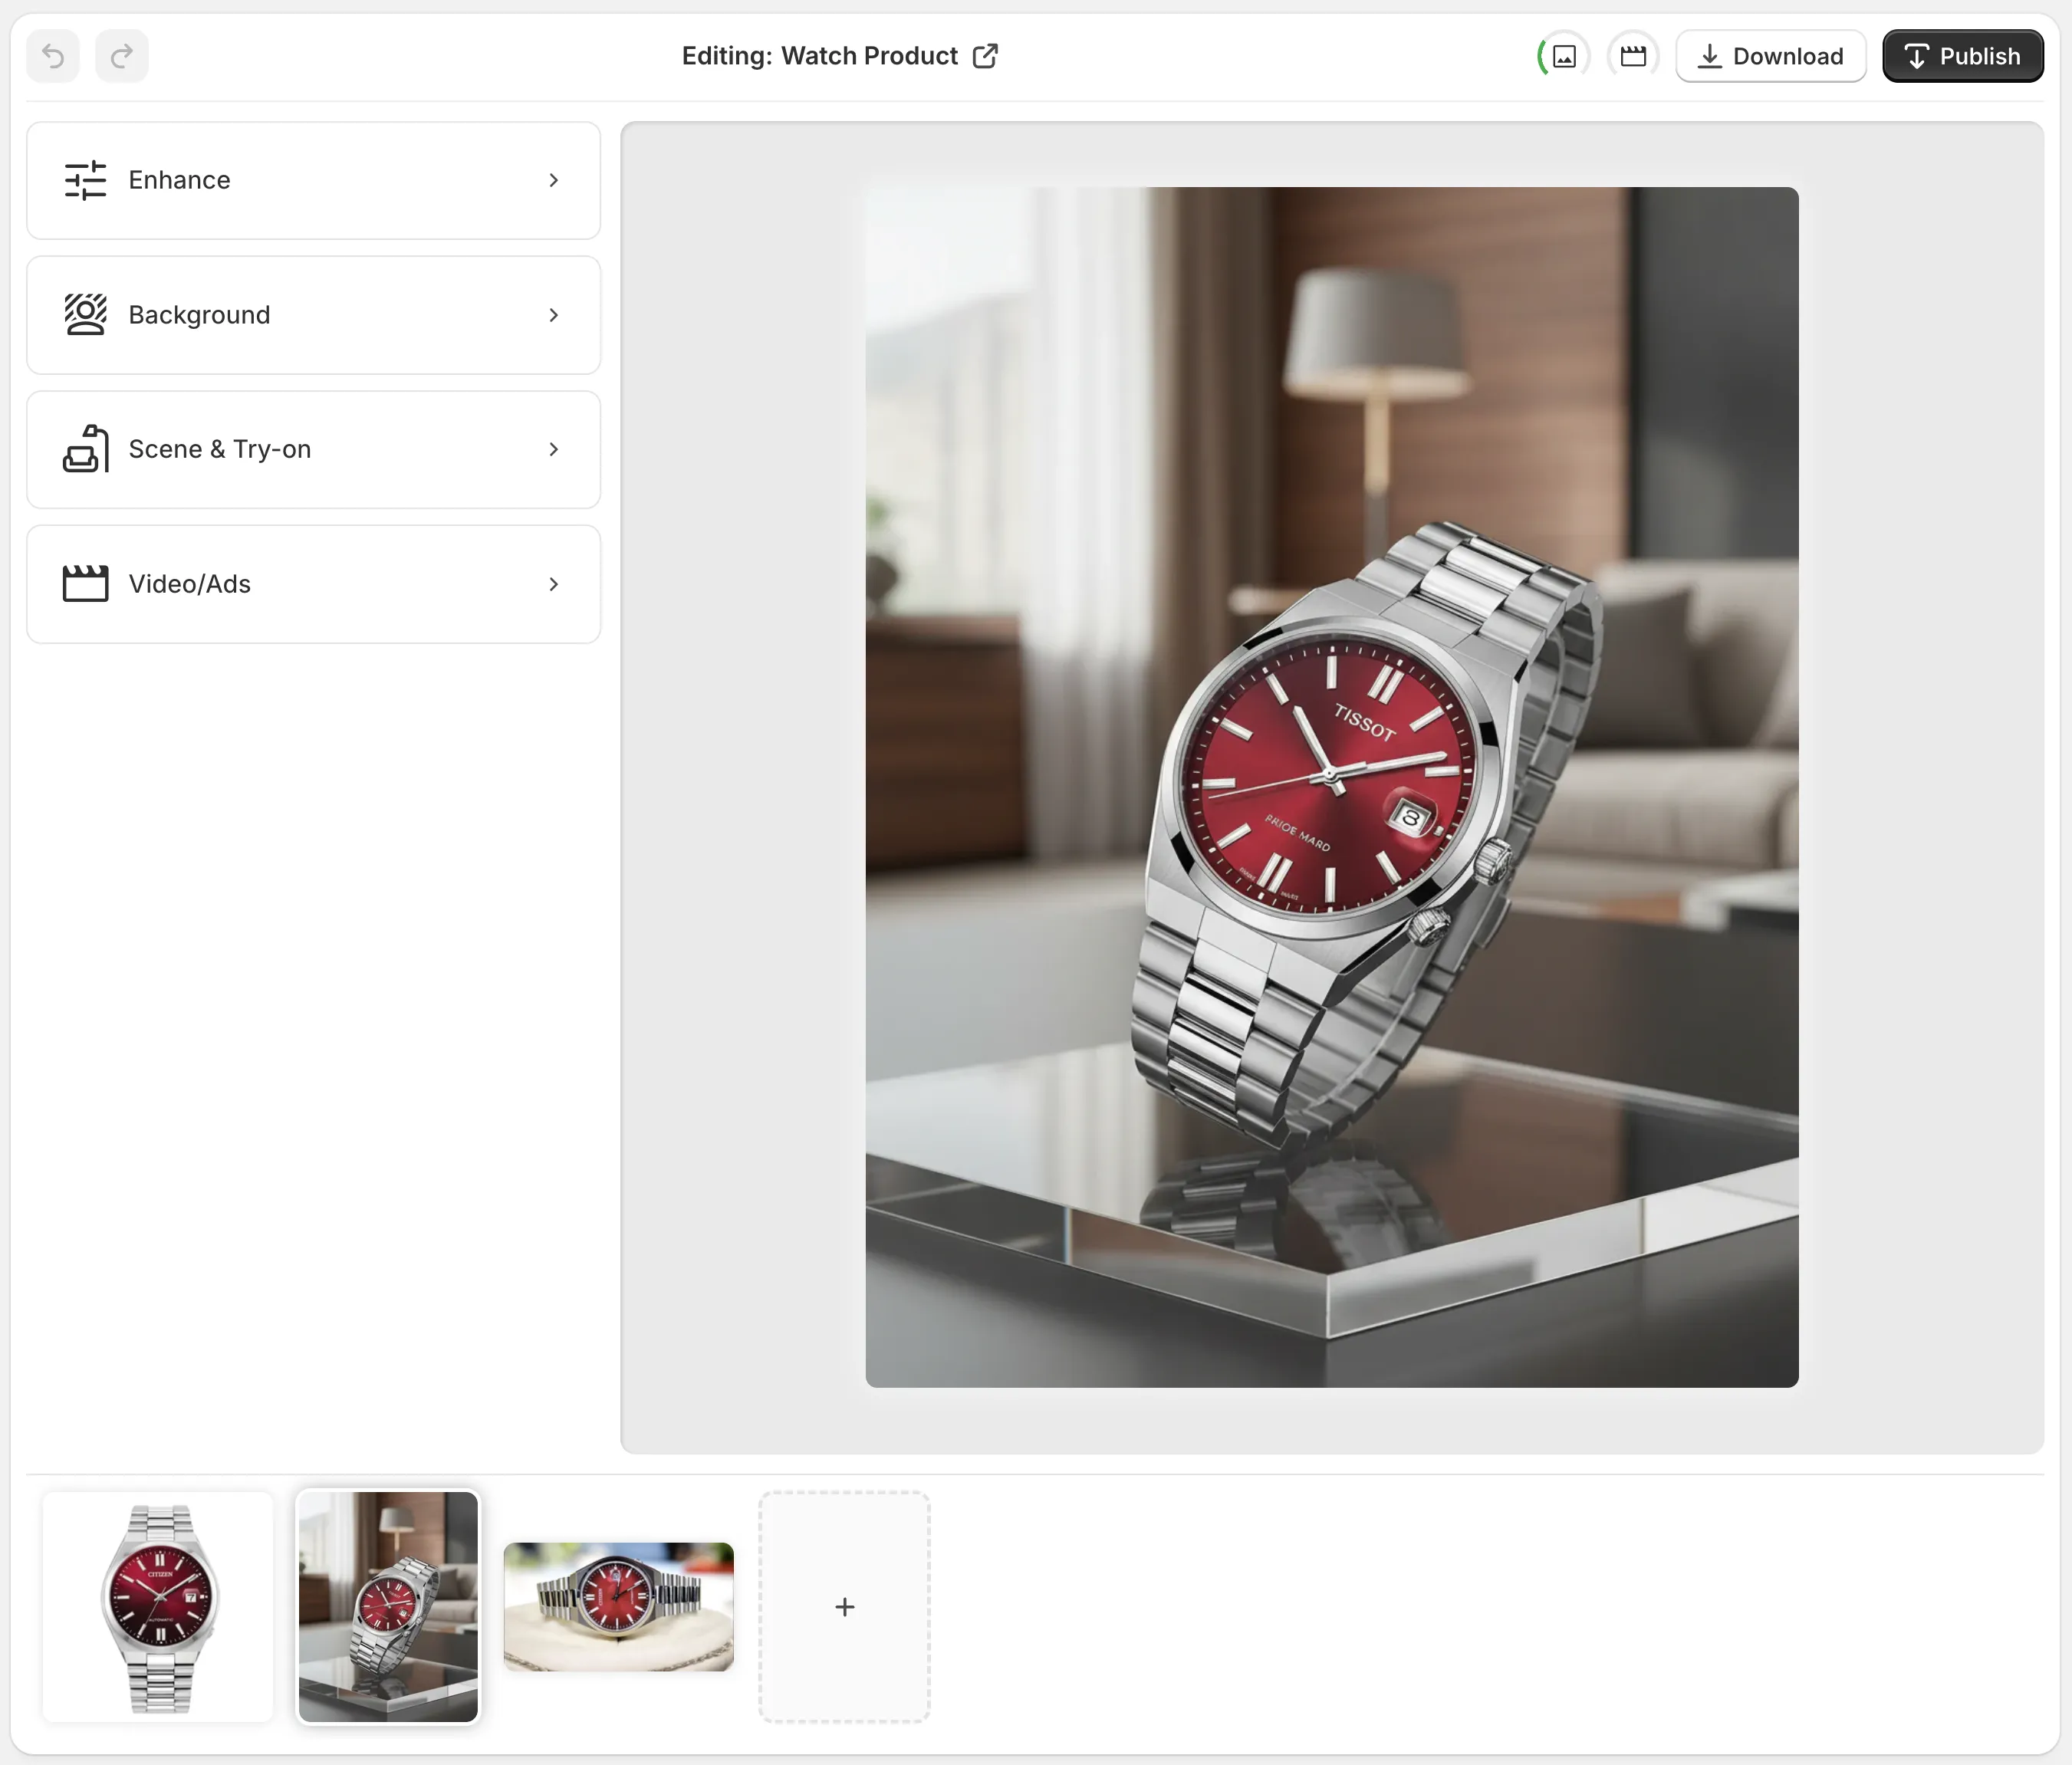
That is where a tool such as Supra AI Photo Studio is useful. It puts enhancement, background work, object placement, try-on, and video tools in the same Shopify-facing workflow. The job is not to use every option. The job is to choose the lightest intervention that solves the shopper’s question.
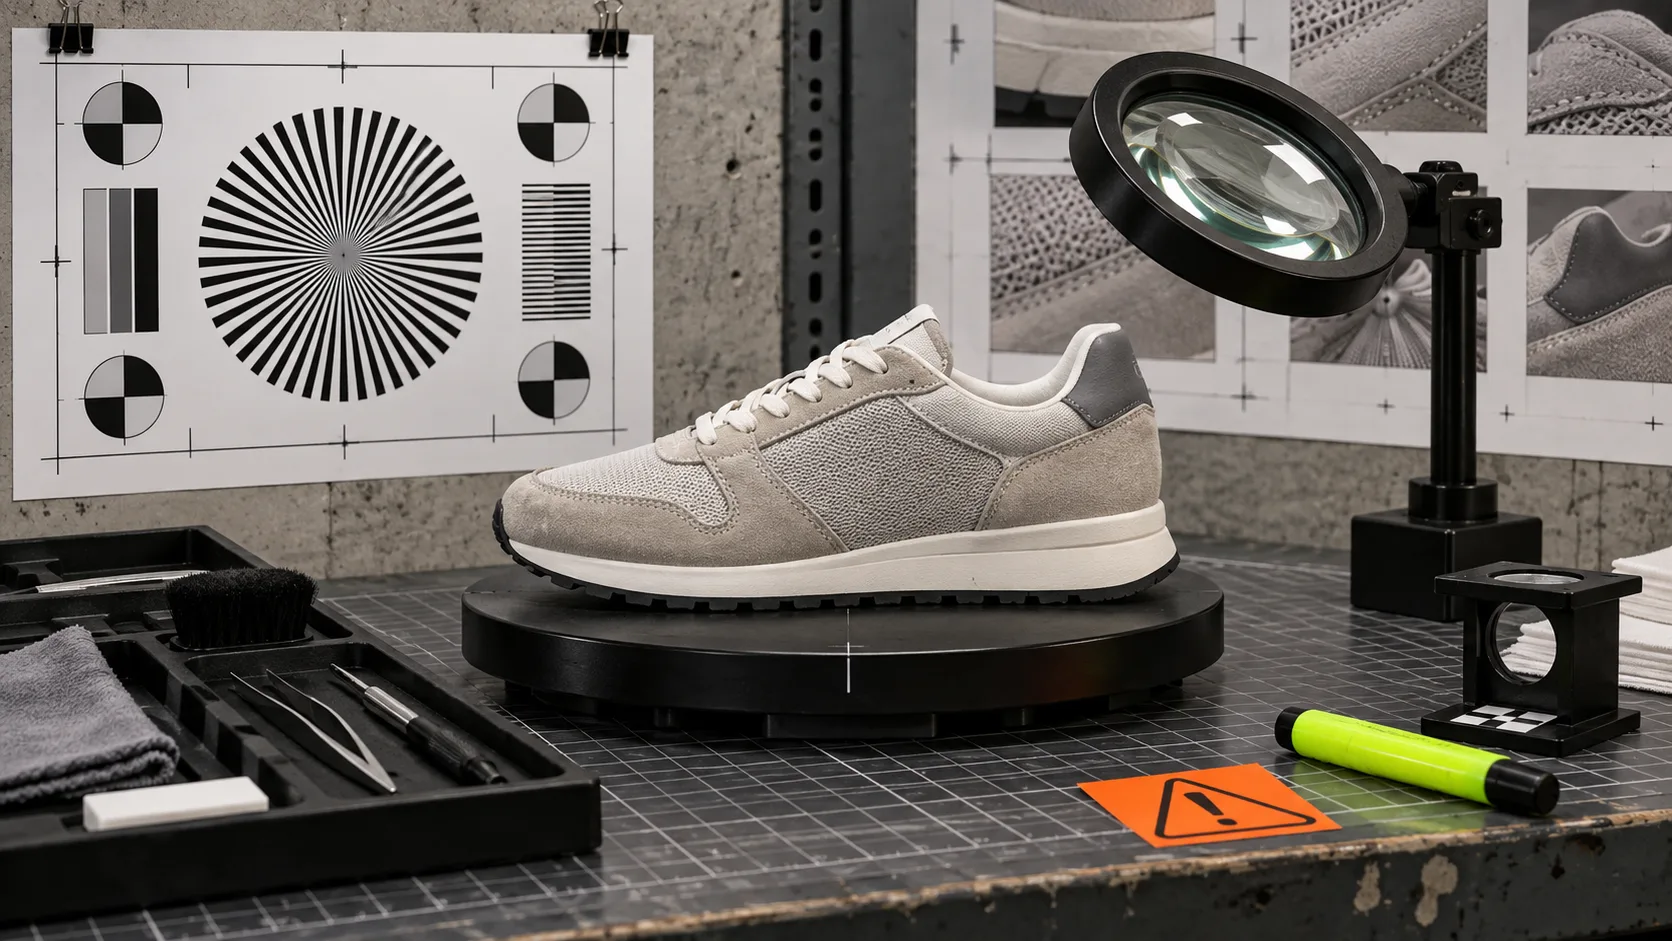
Use Upscaling When the Product Is Already Doing Its Job
Upscaling and light correction are the right first move when the photo already answers the important questions: what the item is, what color it is, what its material looks like, and how it is shaped. You are repairing a technical weakness, not inventing a new context.
I use this path when a product image is a little soft, dim, noisy, or undersized for a collection grid. Keep the original framing. Check the edges, labels, texture, and color after the change. If the image becomes cleaner without changing the evidence, it has passed the test.
A useful rule: if a customer could compare the original and corrected version without being surprised by the product itself, you are still in enhancement territory. That matters especially for catalog images, where consistency is a feature. The same discipline sits behind a publish-safe photo decision system: preserve the source facts first, then decide whether a more ambitious asset is actually needed.
Use a New Scene When Context Answers a Missing Question
A lifestyle scene earns its place when it answers something the isolated product cannot. A travel mug on a trail answers scale and use. A lamp in a room answers mood and proportion. Apparel on a model answers drape and fit.
That is a different job from fixing a slightly blurry product shot. In the app listing, the tools for object placement and try-on sit alongside enhancement because they solve different problems. Treat them that way in your brief. Write down the shopper question before generating anything: How large is it? Where would I use it? How does it sit on a person?
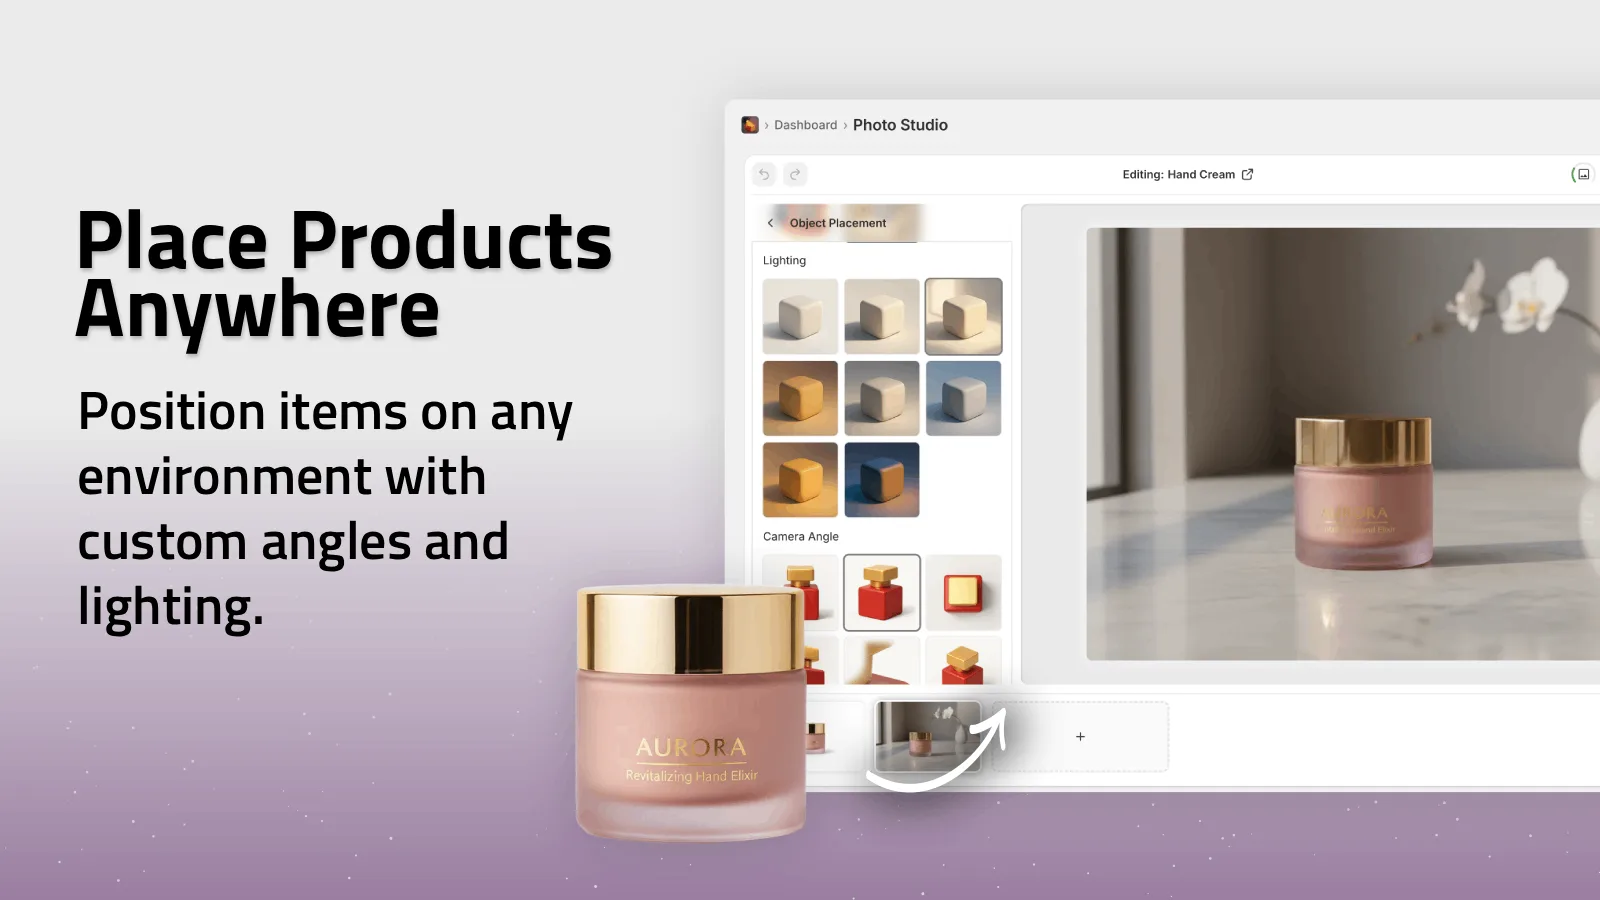
If you cannot name the missing question, do not create the scene yet. You may only be decorating a page that already works. For a more deliberate first test, choosing one product for a lifestyle trial is a better starting point than changing an entire collection at once.
Keep the Original Image in the Decision
The biggest practical mistake is treating a generated asset as a replacement for the evidence image. Your main product image should still make the product easy to inspect. A lifestyle asset can support it, but it should not hide finish, shape, color, or the exact included parts.
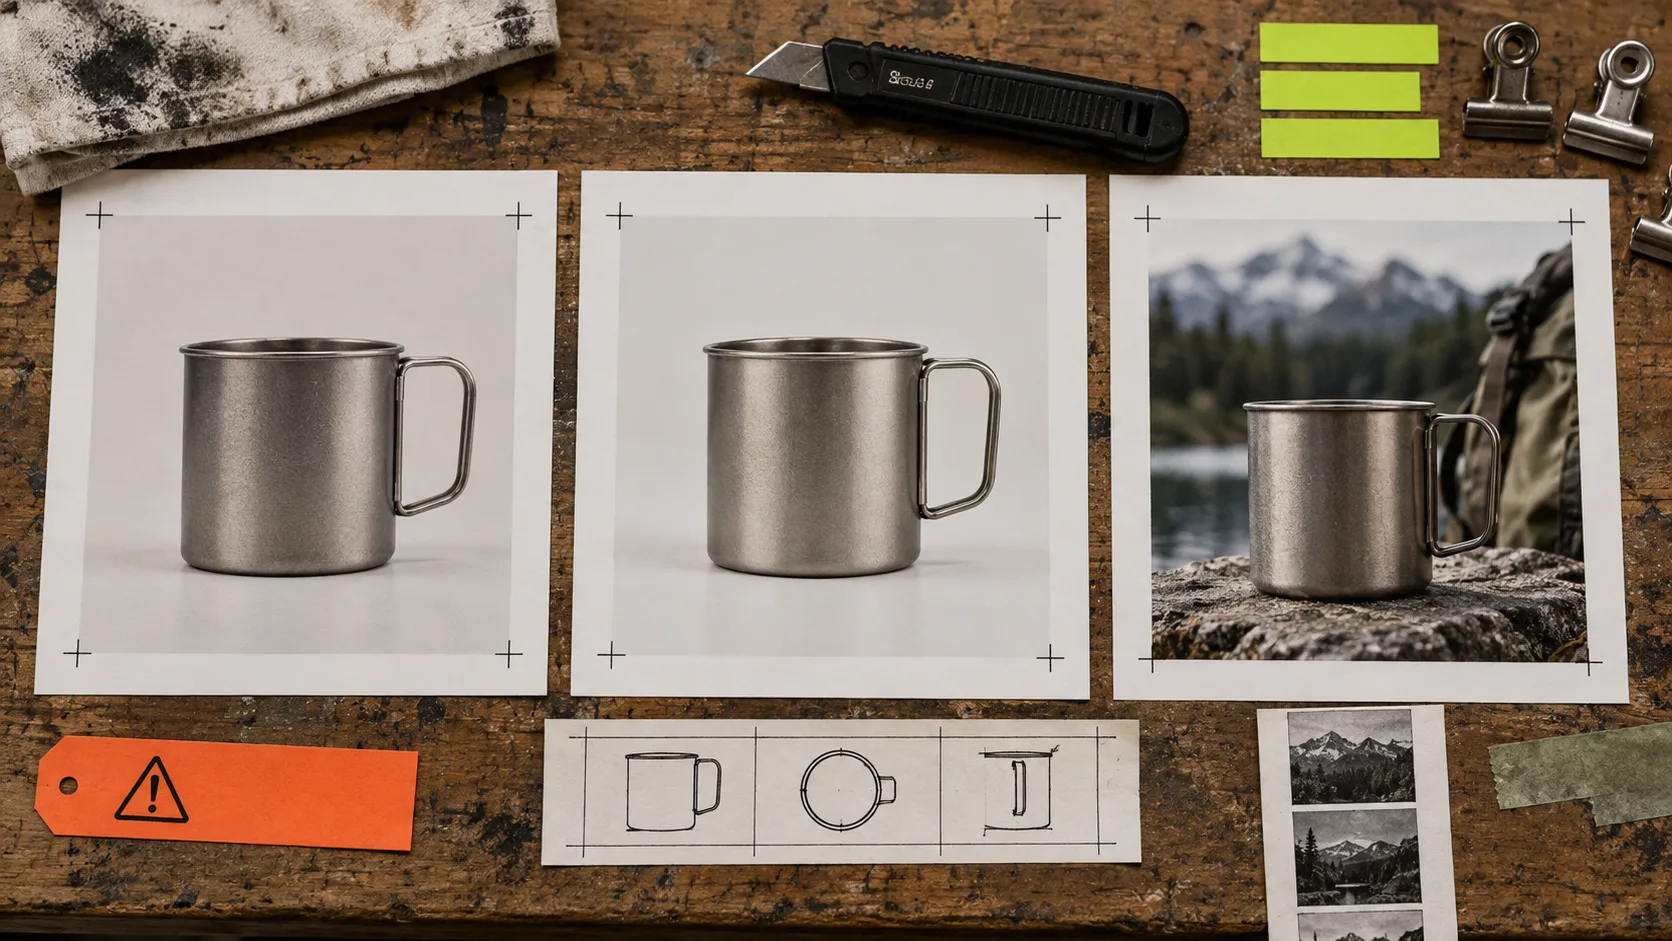
Use a simple three-part review before publishing:
- Accuracy: Did the edit preserve the product details that matter?
- Purpose: Does the image answer a shopper question the current gallery misses?
- Placement: Is this a primary evidence image, a supporting lifestyle image, or an ad asset?
That third question prevents galleries from turning into a pile of attractive but interchangeable pictures. It also gives you a clean review route when you later build UGC clips or b-roll from the same source material.
A Small Workflow That Scales
Pick one SKU. Save the original. Create one corrected version only if the source has a technical weakness. Then create one contextual version only if you can name the question it will answer. Put both next to the original in the product gallery and inspect them on mobile, not only in the editor.
For fashion, the same sequence can move into a model try-on when fit or styling is the question. The relevant product visual should stay recognizably the product, a point worth keeping in mind when you build a broader photo workflow around one source image.
The best result is not the most transformed image. It is the image that gives a shopper one more useful reason to decide. Start with correction, add context only where it earns its place, and keep the original product evidence close by.