
The No-Upload Image Prep Stack I Use Before a Product Launch
A practical browser-only workflow for cleaning metadata, compressing product images, and making launch-ready thumbnails without another account.
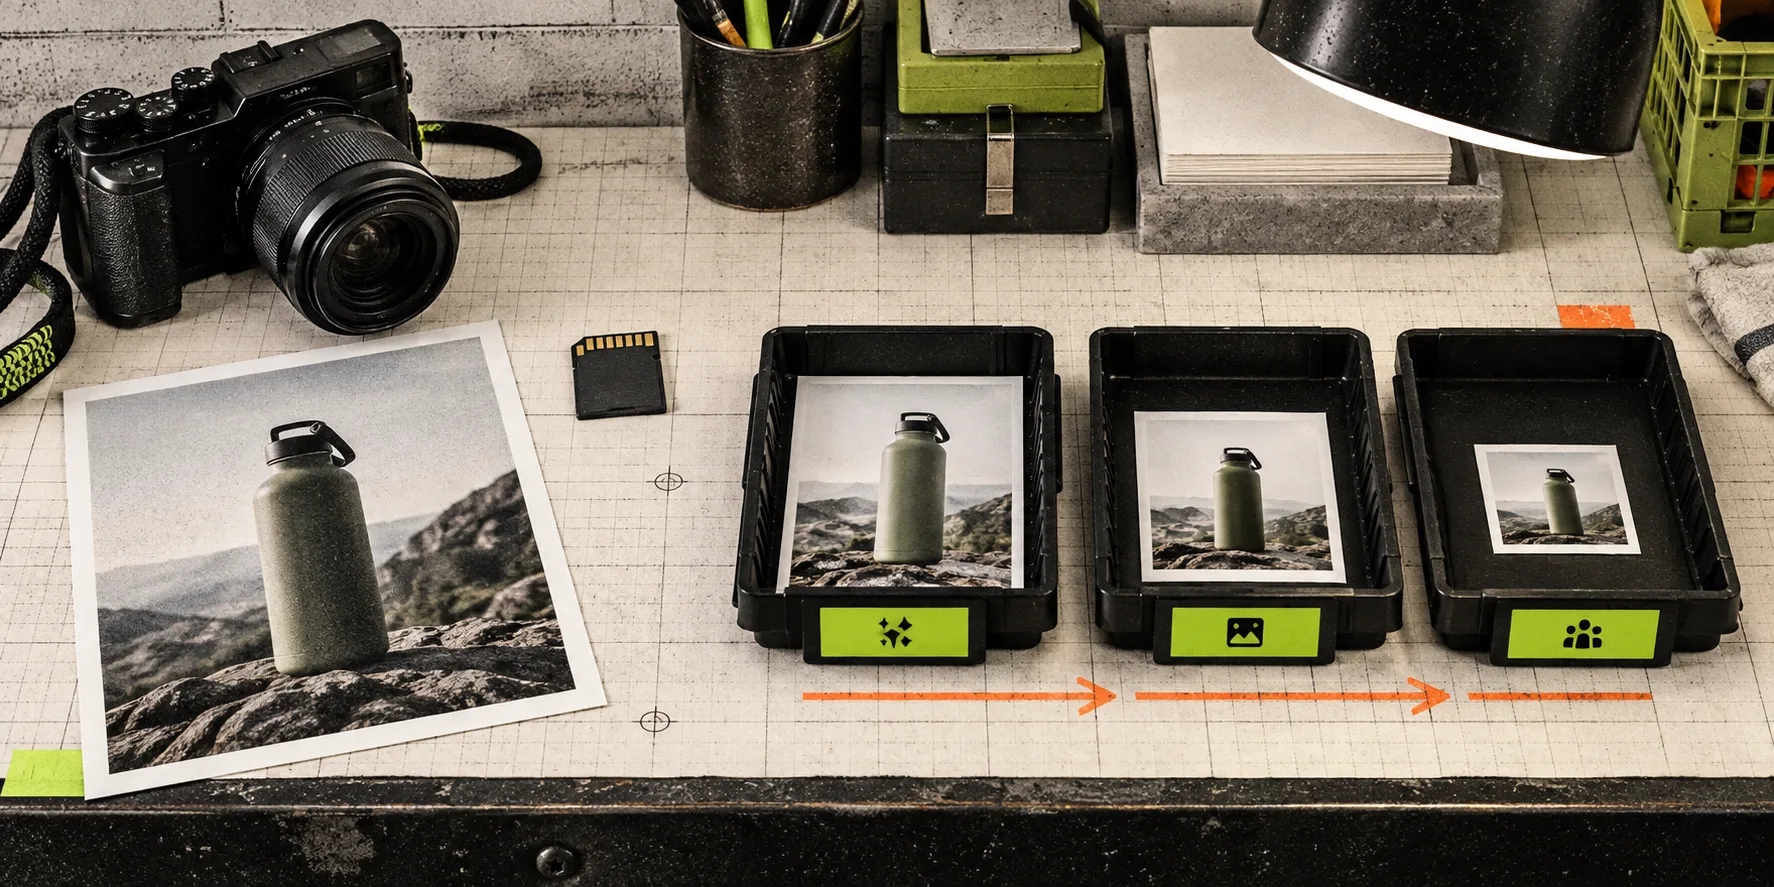
A Product Image Is Usually Not Ready When It Leaves the Camera
A product photo can be visually finished and still be awkward to publish. It may carry location data, weigh far more than a product page needs, or fit one channel while failing every social crop. I used to solve those problems with a random mix of desktop apps, one-off scripts, and upload-based converters. The result was slow, inconsistent, and a little uncomfortable when the source files were not public yet.
My current pre-launch stack is intentionally small: Tiny Online Tools for the quick, browser-based cleanup jobs that do not deserve a full creative suite. The site offers hundreds of focused utilities, with no account requirement and a privacy-friendly, browser-based approach. For product media, I keep returning to three specific steps: remove hidden metadata, reduce the file weight, and create the dimensions each publishing channel actually needs.
1. Strip Metadata Before the File Leaves Your Desk
Start with Remove Image Metadata. It accepts JPEG, PNG, and WebP files and is designed to remove embedded metadata such as EXIF, GPS, XMP data, ICC profiles, and comments.
This matters most when product imagery was captured on a phone, at a home address, or during a pre-launch shoot. The visible pixels may be harmless while the file still retains timestamps, device details, or location information. Even when a platform may remove some information later, I prefer to control the source file I am passing to collaborators, press contacts, or marketplaces.
My check is boring but effective: take a working copy of the original, clean it, then keep the original untouched in the asset archive. Do not use metadata removal as a substitute for a proper rights review or for redacting something visible in the photo. It only addresses hidden file information.
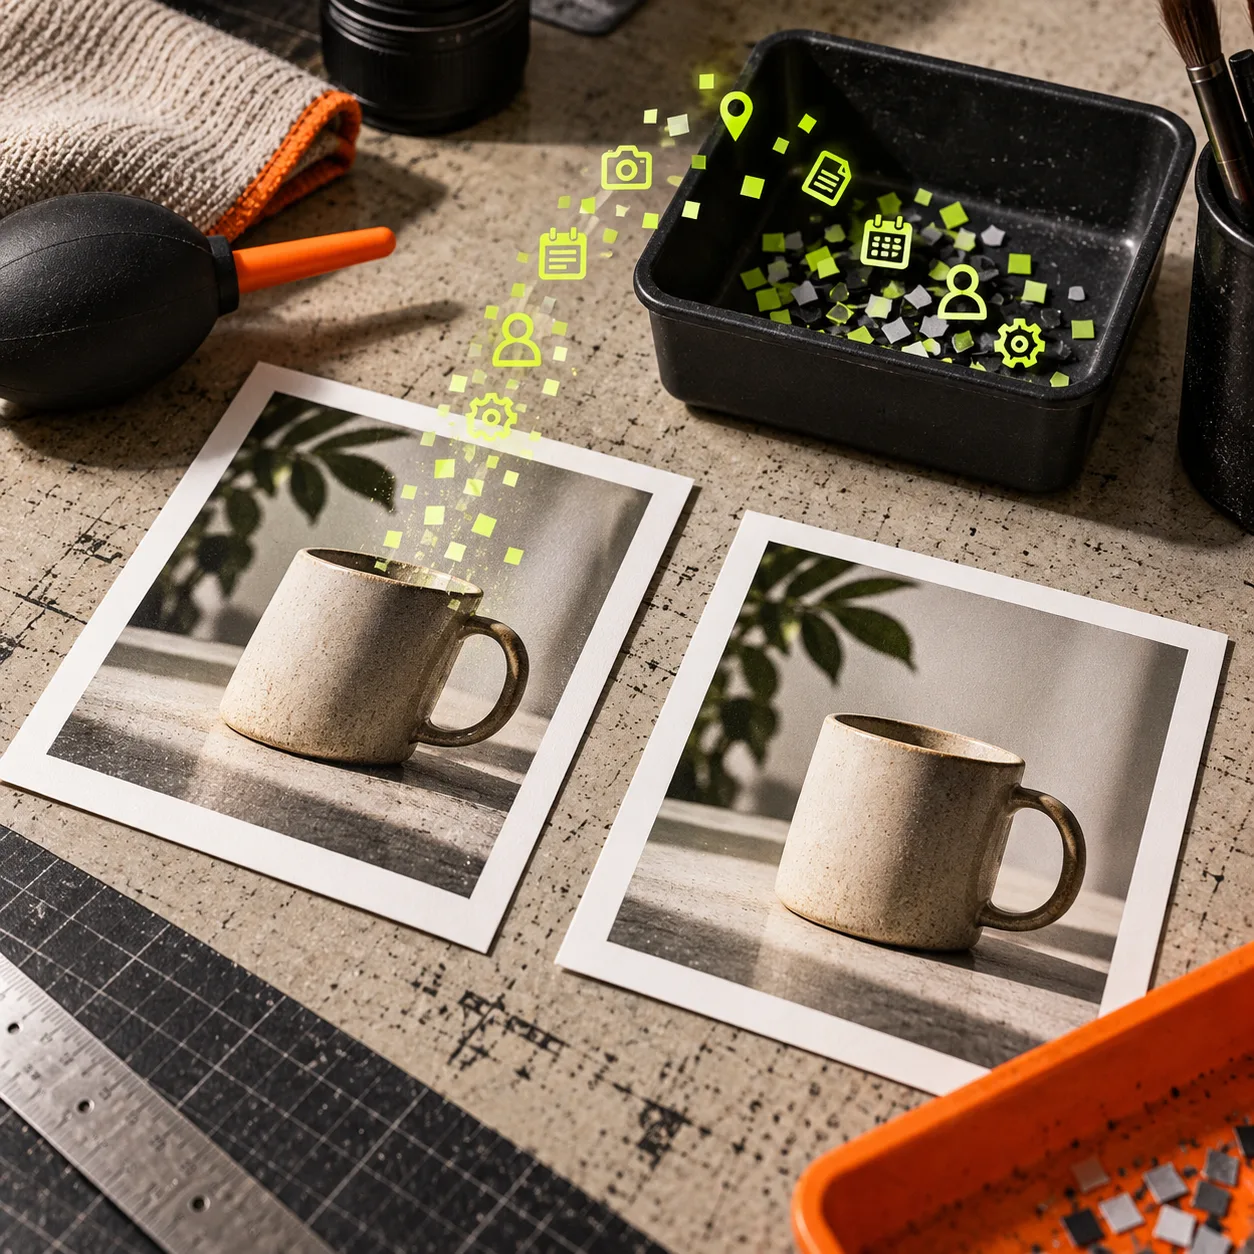
2. Compress the Working Copy, Then Inspect It
Next, open Compress Image. It lets you choose a quality level, inspect the byte savings, and download the result. For product photography, I compare the compressed version at the size customers will actually see, not at 400% zoom.
The goal is not to make the smallest possible file. It is to remove waste without making fabric, edges, gradients, or product texture look damaged. The tool’s own guidance notes that quality around 85% can often keep the visible result close to the original while reducing file size substantially, but there is no universal setting. A flat-pack graphic, a transparent PNG, and a close-up fabric shot need different treatment.
If I start with a large PNG that does not need lossless delivery, I also test PNG to WebP. It processes PNG files in the browser and lets you choose the output quality. Keep a PNG fallback when a workflow or platform needs it; use WebP when the storefront and its audience can benefit from the smaller delivery file.
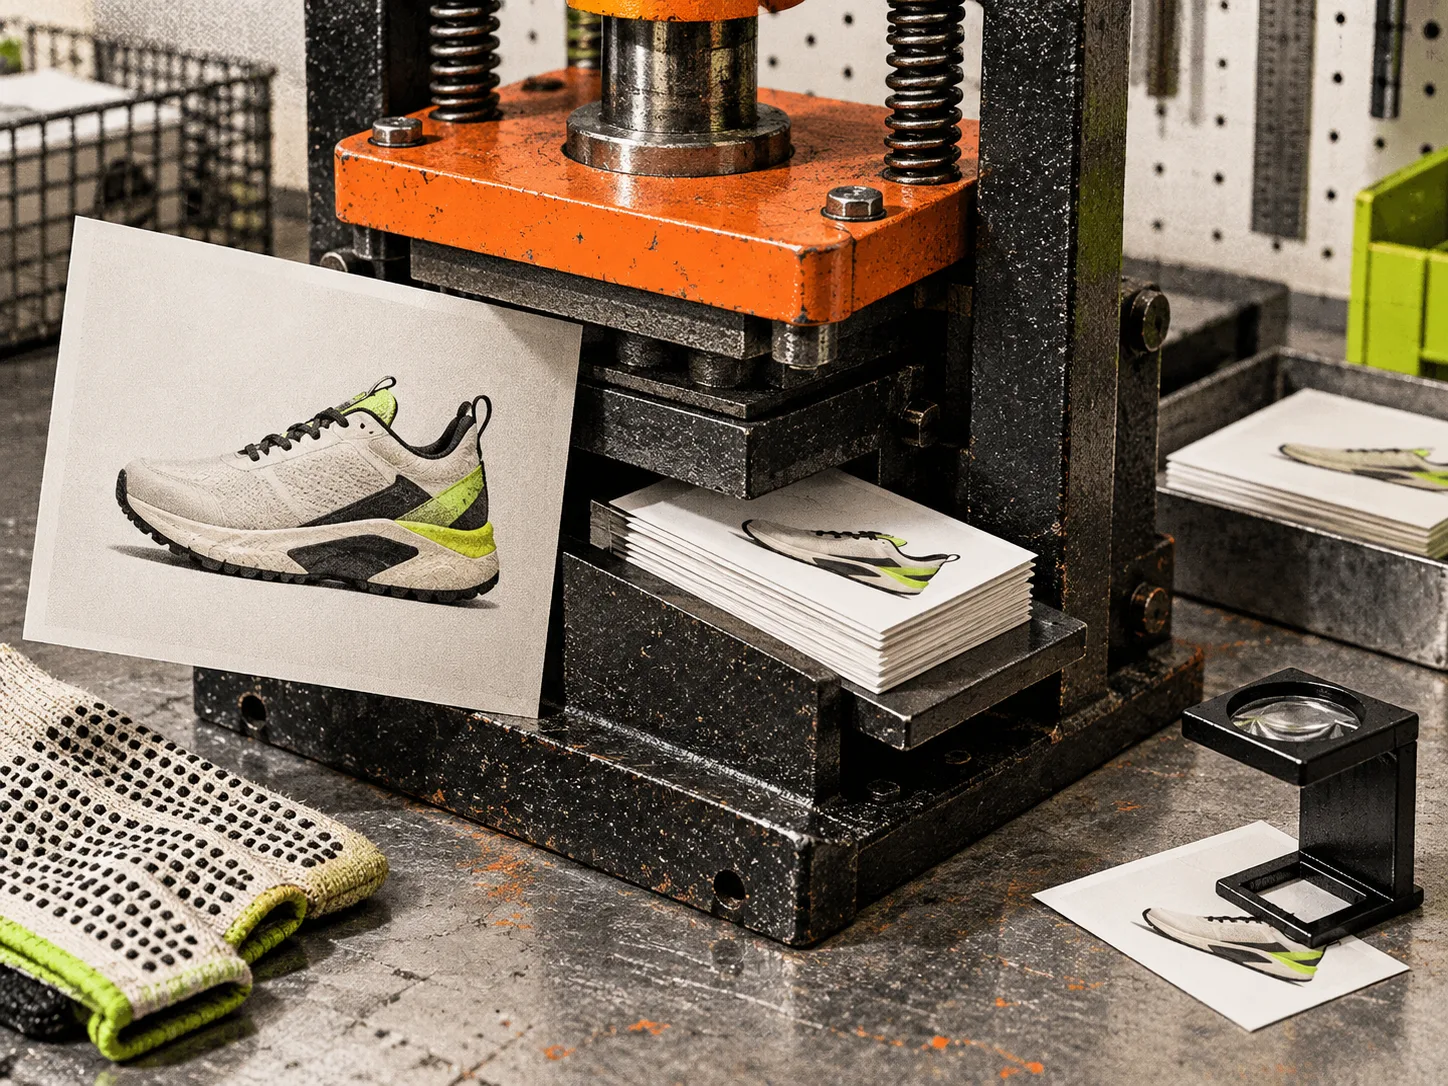
3. Make Social Crops Deliberately
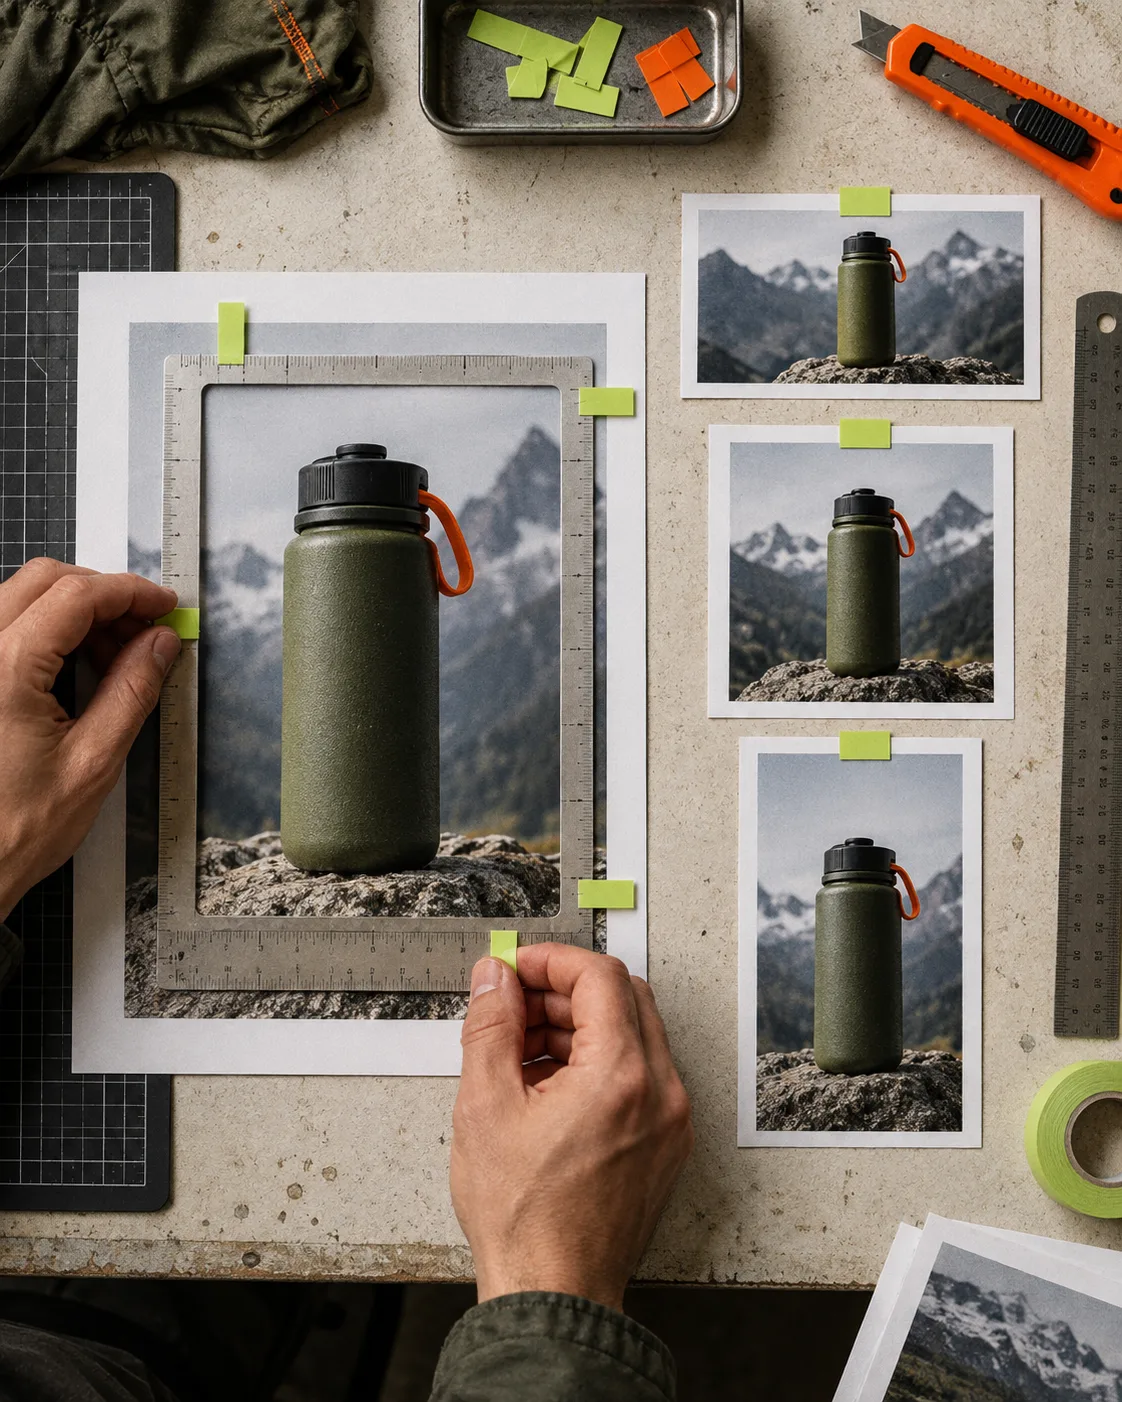
Do not let each social platform make the first crop for you. Use Thumbnail Maker to turn a selected product image into the shape you need. It provides presets and custom dimensions, plus cover and contain fit modes.
Choose cover when the subject can safely lose some edge area and you need the target to fill the frame. Choose contain when the complete product needs to stay visible; the tool adds the remaining space as a configurable background instead of chopping off a key detail.
I start with a high-resolution source, create the launch-page crop first, then build the social versions. For a product that needs a full silhouette, contain is often safer. For a dramatic detail or a campaign hero, cover can work better. The important part is choosing the crop, rather than discovering after publishing that the platform has removed the product’s top edge.
The Order Saves Rework
The sequence matters. I clean metadata before sharing the file. I decide the intended crop before optimizing it. I compress the final crop rather than repeatedly recompressing a file that will change again.
That leaves me with a small, sensible handoff folder:
- the preserved original;
- a metadata-clean working master;
- a storefront-ready optimized file;
- channel-specific thumbnail versions;
- a brief note naming the intended placement.
You can extend this with a simple product-image metadata cleanup workflow when working with an existing Shopify catalog, or with a product demo video prep checklist when the launch includes moving media.
Where Browser Tools Are a Bad Fit
A quick browser tool is not the right answer for every image problem. Use a proper editing environment for color correction, retouching, layered design files, art direction, or any job where the image itself needs careful creative work. Keep source-of-truth assets in your usual repository or asset library.
The no-upload stack is for the small, repeatable finishing jobs that otherwise become annoying context switches: inspecting a file, removing embedded information, reducing delivery weight, creating a channel crop, or converting a format. That is exactly where small focused utilities are most useful.
A Launch-Day Rule I Actually Follow
I do the image pass before anyone asks for the files. Once a product launch enters the final week, I prepare a clean set of approved assets and label them by destination. That makes it much less likely that a partner receives a camera original, a storefront gets a 9 MB PNG, or a social post uses an accidental crop.
Open Tiny Online Tools when you need one of these narrow jobs done quickly. Start with a single image, compare the output, and bookmark the exact tool pages that fit your recurring workflow.