
How to Turn Product Release Notes Into a Reviewable Launch Video
A practical release-notes-to-launch-video workflow for startup teams that need an editable first cut, clear review points, and fewer last-minute surprises.
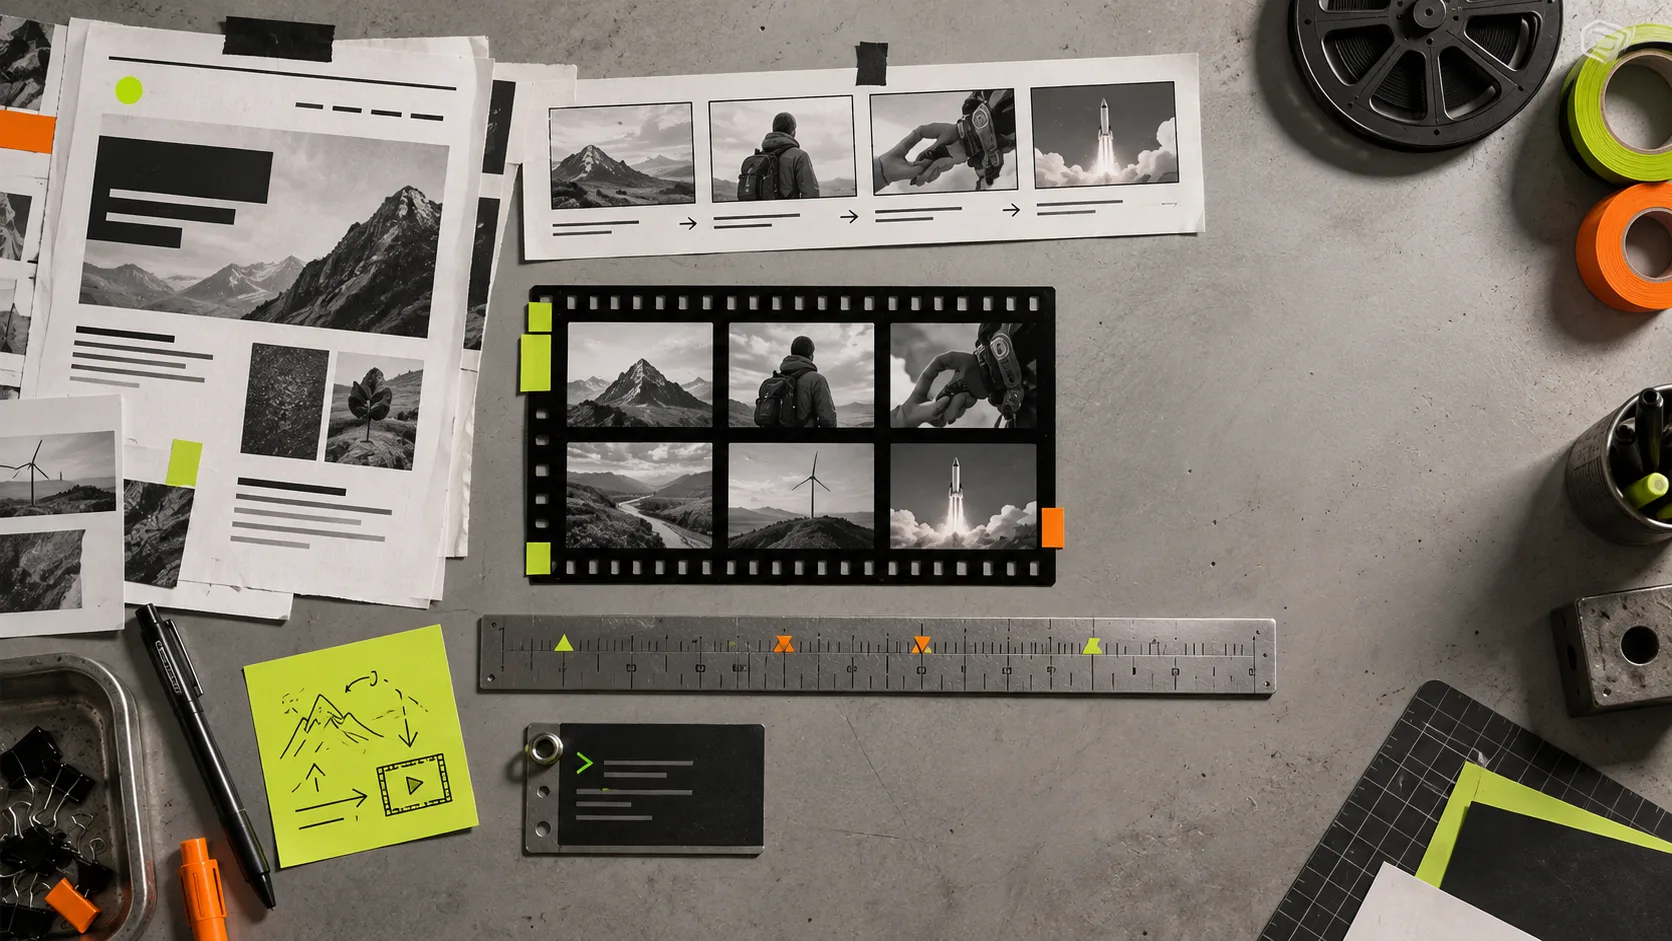
Launching a feature is already a small coordination exercise. Add a video at the last minute and the usual failure mode appears: the team tries to compress the release notes into a script, hands it to someone else, then discovers the first cut cannot be changed without reopening the whole project.
A better target is a reviewable first cut: a short launch film with a clear story, a specific review point, and an editable source behind it. VideoFlow Studio is useful here because it starts with a website URL and plain-language direction, then builds a motion-graphics video you can revise instead of treating the first render as the final artifact.
Start With the Release Decision, Not the Changelog
Release notes are a source pile, not a story. Before opening a video tool, reduce the pile to one decision you want a viewer to make. For a new integration, that might be “this removes a manual handoff.” For a performance update, it might be “the workflow now keeps up with the team.”
Use this small brief:
- Audience: Who needs to notice the release first?
- Before: What was slow, risky, or annoying?
- After: What can they now do?
- Proof: Which screen, result, or metric makes the change believable?
- Next action: Read the announcement, start a trial, or book a demo?
Keep one primary claim. A release film that tries to explain six minor improvements will feel like a changelog with background music. The supporting details can live in the release post, documentation, or a follow-up clip.

Turn the Brief Into Four Scenes
For most product updates, four scenes are enough: problem, change, proof, action. This structure gives a short video a beginning and an ending without forcing it into a template.
- Name the friction. Show the moment before the feature exists. Be concrete: a status check, a repeated export, a handoff that needs another spreadsheet.
- Reveal the change. Introduce the new workflow as one clear visual movement.
- Show proof. Use the product page, a key interface state, or a tangible outcome—not a collage of every feature.
- Close with the action. Give the viewer one next step and stop.
This is also where a URL-first tool changes the setup. With VideoFlow Studio, you can point the agent at the product site and say what the release is about, then direct changes in normal language. That is a more practical starting point for a founder or product marketer than assembling every title card before anyone has agreed on the story.
If your launch needs a broader foundation, the workflow in How to Turn a Startup Website Into a Reviewable Launch Video is a good companion. For a terminal-first version, see I Used Our URL as the Brief for a SaaS Release Video.
Make Review a Planned Step
The expensive mistake is not a rough first render. It is sending one out without deciding what people should review. Ask reviewers for only three kinds of feedback:
- Is the opening claim accurate and specific?
- Does the proof scene make the new value believable?
- Is the final action obvious?
Do not ask “any thoughts?” That invites a pile of subjective notes after the edit window has closed. Put a named owner on the product claim and another on visual brand accuracy. Give them a deadline.
VideoFlow Studio is designed to render, inspect, and revise; its underlying open-source VideoFlow engine keeps video as a structured, editable document rather than only a locked render. That matters when a reviewer asks to change the timing, text, colors, or end card. You can give an instruction in a sentence, then continue editing in the built-in editor when precision matters.
Check the Render Like a Product Surface
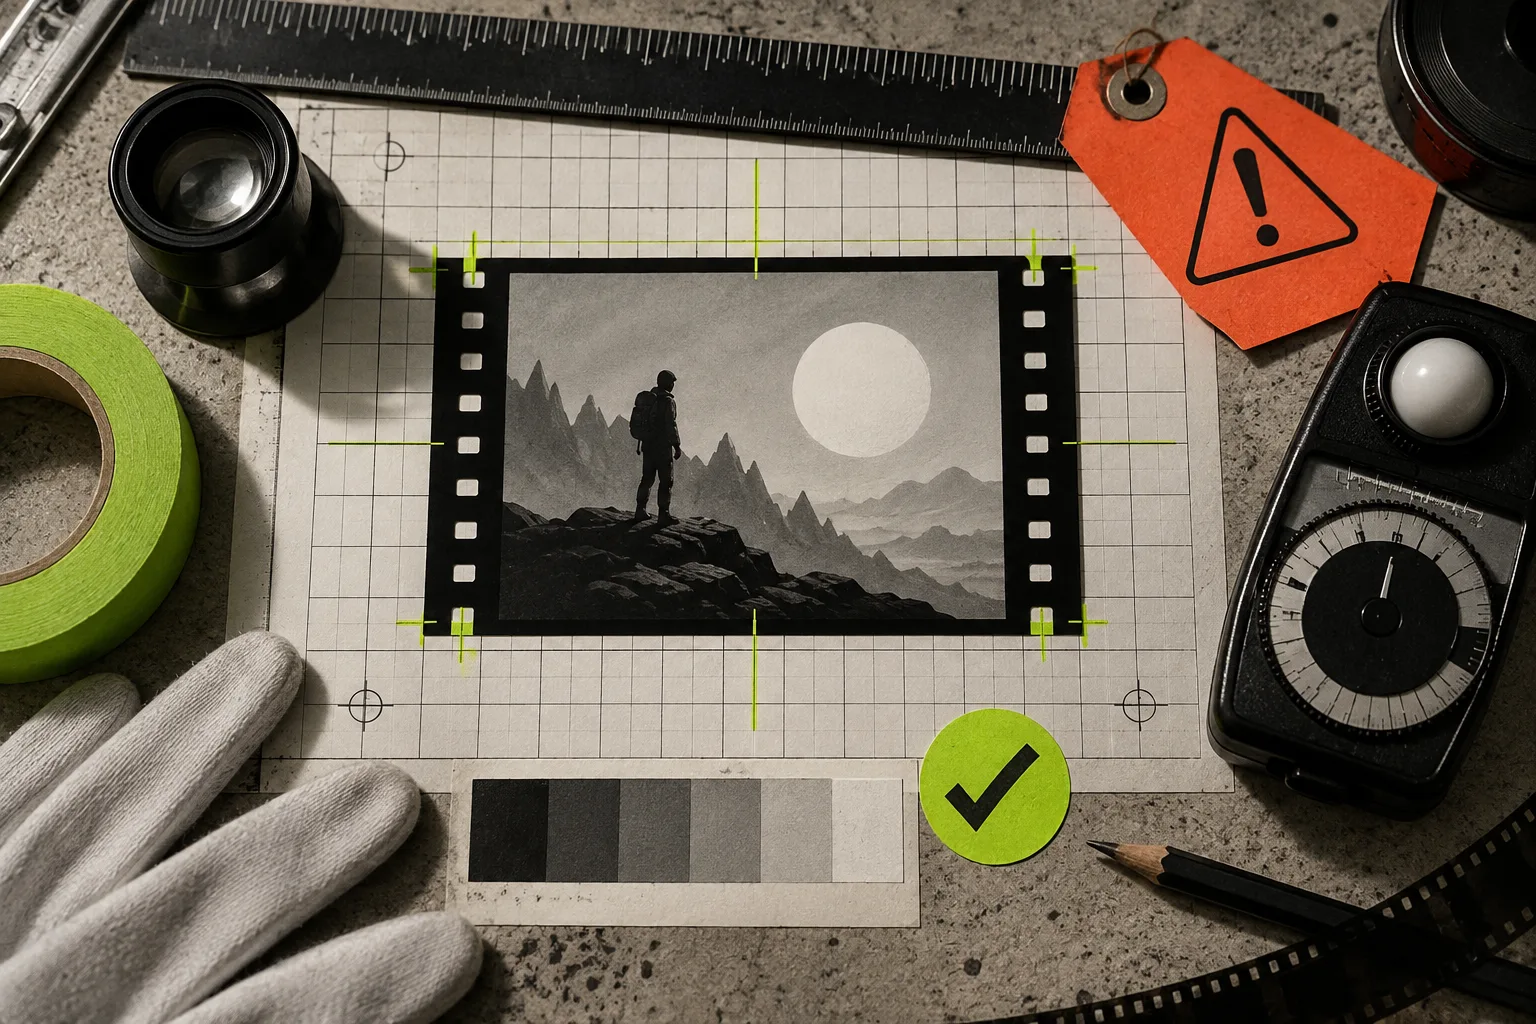
A launch video is still a customer-facing surface. Watch it once muted and once with sound. On the muted pass, check text hierarchy, logo placement, contrast, and whether the scene changes make sense without narration. On the sound pass, check pacing and whether the final CTA has enough room to land.
This is especially useful for agent-produced work. A tool can generate a compelling first cut, but it cannot know which claim your legal, product, or marketing team will reject. The practical advantage is not pretending automation removes review; it is making revision cheap enough that review actually happens.
For another take on why that visual check belongs in the workflow, read How to Add a Review Step to an Automated Product Video Workflow. If your team is choosing between code-first and agent-first motion graphics, VideoFlow Studio vs Remotion for Startup Launch Trailers draws the line clearly: Studio is aimed at turning a URL into a reviewable first cut, while Remotion is a strong fit when developers want to author a video application in React.
Keep the Revision Loop Small
After the first review, make one round of changes that improves the story, not twenty tiny preferences. The most valuable revisions usually tighten the opener, replace a vague line with proof, or simplify the ending. Keep a short change list, rerender, and check the exact frames affected.
A workable release-video sequence looks like this:
- Write the one-sentence release claim.
- Pull four scenes from the product page and notes.
- Create a first cut from the URL and brief.
- Review claim, proof, and CTA with named owners.
- Revise once, then inspect the finished render on desktop and mobile.

The Useful Finish Line
The goal is not a cinematic mini-documentary. It is a launch asset that makes the release easier to understand and easier to share, while leaving you a real document to update when the launch inevitably changes.
If you have a product page and a release worth explaining, start with the brief above, then try VideoFlow Studio for the first cut. Treat the result as something to review and improve—not a render to hope is right.