
How to Map Notion Fields to Webflow CMS Without Copy-Paste
A practical field-mapping workflow for syncing Notion articles to Webflow CMS with fewer broken cards, missed metadata fields, and publishing surprises.

Your team writes well in Notion. Your site looks right in Webflow. The trouble starts in the narrow strip between them: someone copying titles, pasting descriptions, rebuilding links, and hoping the CMS card did not lose its image. That is not a writing job. It is a field-mapping problem.
Syncflow connects a Notion database to a Webflow CMS collection so the same article data can travel without the copy-paste relay. It can sync text, images, checkboxes, dates, URLs, and more; it can also auto-sync and auto-publish when that is the workflow you want. The useful part is not simply pressing Sync. It is deciding what each field means before it moves.
Start With the Published Page, Not the Notion Database
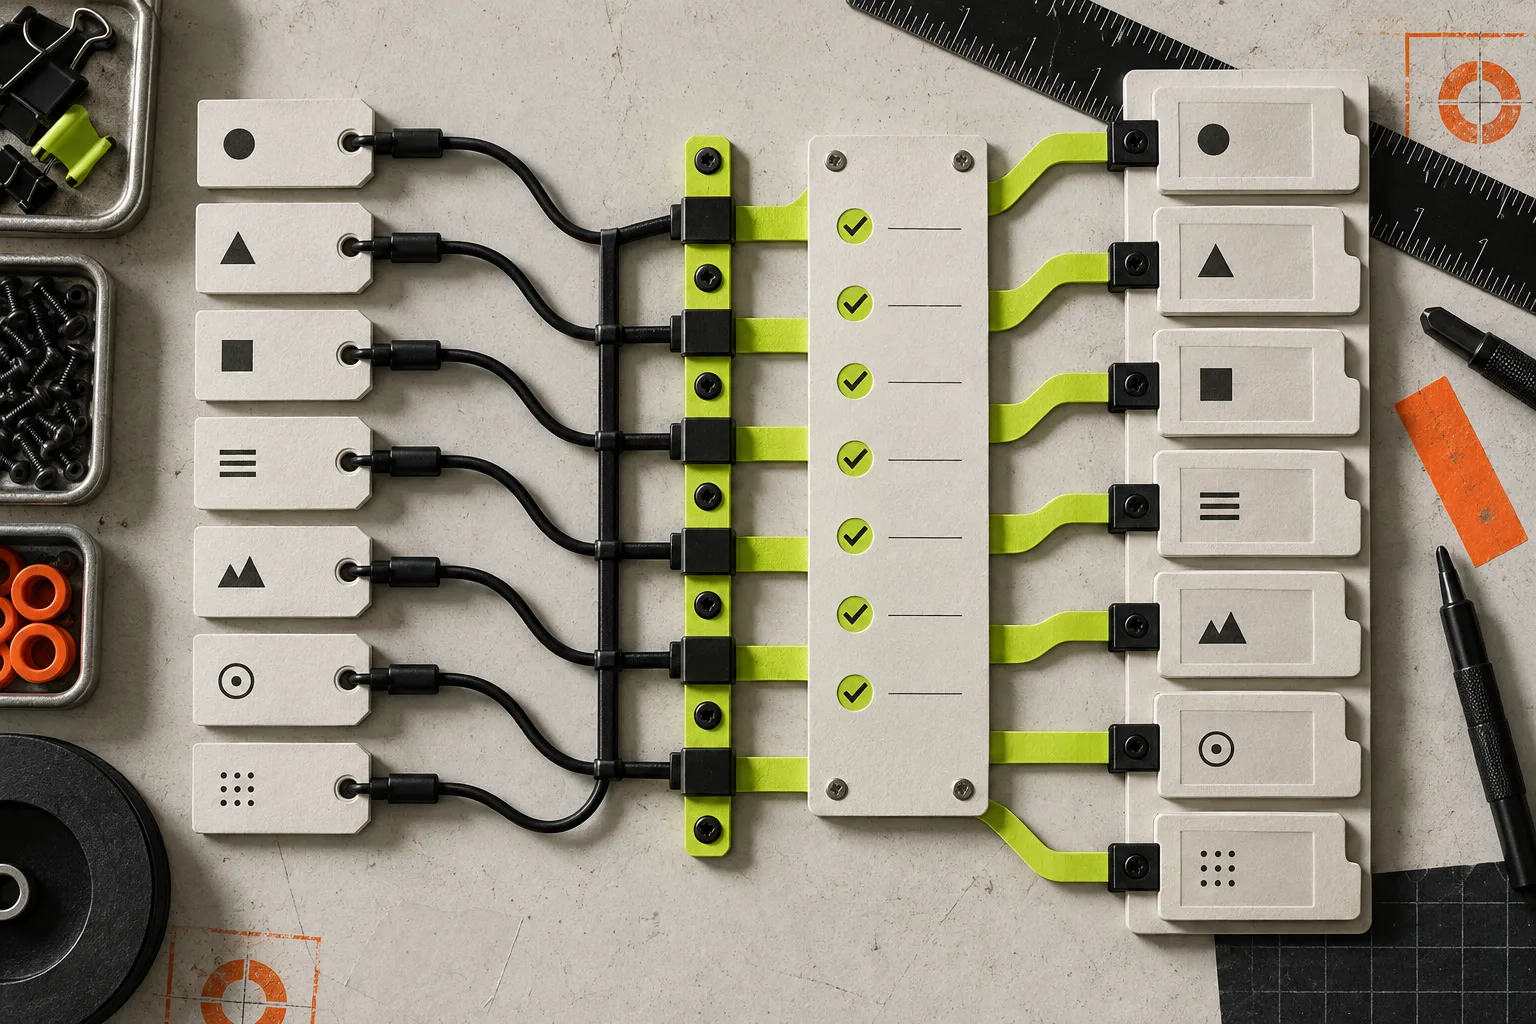
Open one good Webflow article and list the fields that make it work. Most small editorial sites need a title, slug, cover image, summary, author or byline, publish date, body, category, and SEO description. Your collection may use a different mix. That is fine. The point is to identify the destination contract before inventing source properties.
This is the same sanity check worth doing before bigger site changes. If you are also taking a snapshot of a redesign, this guide to syncing Notion articles without manual copying is a useful companion: it forces you to notice the pages and metadata that should not quietly disappear.
Make a short map with four columns: Webflow field, Notion property, required or optional, and a sample value. Treat the sample as a test fixture. If the sample cannot produce a complete CMS item, the map is not ready.
Make the Boring Fields Explicit
The most reliable map is rarely clever. Give Notion a property for each repeatable piece of Webflow metadata rather than burying it inside the article body. A practical starter set looks like this:
- Name or Title → Webflow Name
- Slug → Webflow Slug
- Excerpt → Webflow summary or description
- Cover image → Webflow image field
- Publish date → Webflow date
- Topic or category → Webflow reference or option field
- Article body → Webflow rich text
Keep the page title and slug separate. A human-friendly headline can change late; a URL generally should not. Also decide which system owns each value. If an editor changes a summary in Webflow while Notion remains the source of truth, the next sync may replace that local edit. Ambiguous ownership is how a small convenience becomes a recurring cleanup job.
Map One Real Article Before Enabling Automation
In Syncflow, connect your Webflow site and Notion account, choose the CMS collection and Notion database, then map the fields. The product supports both manual syncs and auto-sync, so there is no prize for turning on automation before a test passes.
Create a single Notion entry that deliberately exercises the edges: a cover image, a link in the body, a date, a category, and a short excerpt. Sync it manually. Then inspect the published collection item rather than stopping at a green status message. Check that the slug is right, the image is actually present, the rich text has sensible spacing, and internal links land where you expect. Syncflow can convert links between Notion pages into links between Webflow posts, which is particularly useful once related posts are in the same workflow.

Choose Styling Before You Build a Library of Articles
Syncflow can import Notion elements with inline styling or use Webflow classes. Inline styles are expedient when you need a faithful quick import. Classes are the better long-term choice when the Webflow site has its own typography and components. Pick one deliberately; mixing both is an invitation to strange exceptions.
Technical teams should also make one sample containing a code block and any math they actually publish. Syncflow supports code highlighting and TeX rendering, but the only meaningful verification is on the Webflow page your readers see. For a more complete walkthrough of the setup sequence, use the Syncflow tutorial.
Add a Small Review Gate
Once the test item works, decide how fast content should move. Manual sync is sensible for client work, launch pages, or sparse editorial calendars. Auto-sync fits a regular publishing rhythm, provided the editorial checklist lives in Notion too.
A lightweight gate can be just a checkbox such as Ready to Publish. Do not use it as decoration. Make it the condition your editor checks after confirming the title, image rights, links, and date. The goal is not more process; it is preventing a half-finished note from becoming a live collection item.
If you are connecting content work to a broader handoff, pair that gate with this Framer static-export test checklist and this smoke-test habit for static exports. Different tools, same rule: the handoff is complete only after the output is checked.
When This Setup Will Not Save You
A sync will not repair a confused content model. If every post needs a different combination of fields, start by simplifying the collection. It also will not replace editorial review: automation can transport a broken link much faster than a person can. Finally, be careful with a full resync on an existing database. It is useful when you want the systems to match, but test against a small set first so you understand what will change.
The good version of this workflow is modest: writers work in Notion, Webflow stays the presentation layer, and Syncflow handles the repeatable transfer. Start with one mapped test article, make the fields boringly clear, and only then enable auto-sync. Set up Syncflow when you are ready to remove copy-paste from the publishing path.