
How to Prepare a Product Photo for a Marketplace Listing in a Browser
A practical browser-based workflow for cleaning, checking, and exporting honest product photos for marketplace listings.
A marketplace listing can fail long before anyone reads the copy. A rough cutout, a dust spot, or a photo whose color looks suspiciously different from the product can make a capable item feel risky. The usual answer is a desktop editor, a retoucher, or a fresh shoot. Often you need something smaller: one careful, reversible edit and a disciplined final check.
ImageFlow is a free, browser-based image editor built for that kind of work. It gives you layers, masks, adjustment layers, smart objects, PSD/PSB import and export, plus on-device selection and background removal without making ordinary edits an upload-first workflow. It is a Photoshop alternative for a focused job, not a promise that every complex production file will behave identically.
Here is a practical way to prepare one truthful, marketplace-ready product image in a browser.
Start with the listing requirement, not the editor
Before opening anything, write down the image’s job. Is it the primary catalog shot, a detail image, or a color/scale reference? That decision controls what you can safely change. A primary image usually needs a neutral background and an honest outline; a detail image may need a tighter crop. Do not use cleanup to alter the product’s color, proportions, material, included accessories, or condition.
Pick the cleanest source file you have, then duplicate it before you edit. If the asset will feed a later 3D project, the same discipline helps: choose the right SKU and capture plan before you begin, as in this low-risk product selection guide.
Make the smallest useful selection
Open the image in ImageFlow and use its on-device subject or object selection as a starting point. The useful word is starting. A generated edge can look fine at fit-to-screen and still eat a shoelace, label corner, transparent handle, or strand of texture.
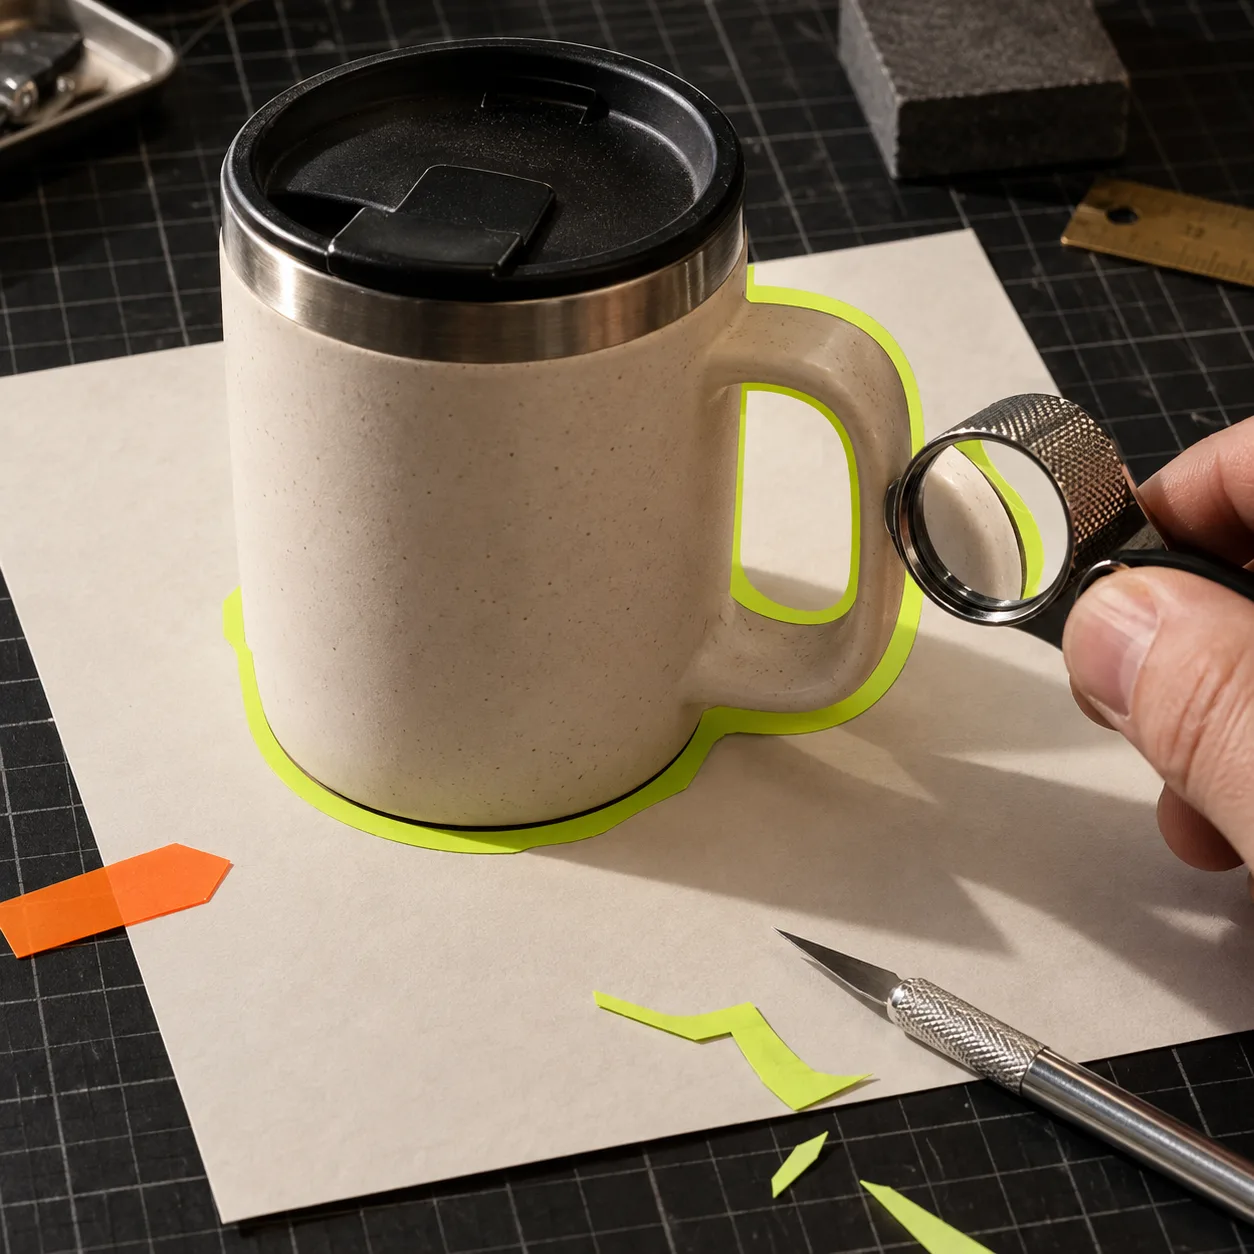
Convert the selection into a layer mask rather than deleting pixels. Then zoom in around high-risk edges: logos, seams, holes, reflections, and contact shadows. Paint on the mask to restore any real product detail the first selection removed. Keep a little believable contact shadow if the marketplace permits it; a floating cutout can look less credible than a restrained one.
This is also where a browser editor earns its place. You can make a precise, editable decision instead of asking an image generator to redraw the whole photo. ImageFlow’s masks, groups, and adjustment layers are the right tools for that narrower job.
Clean distractions without rewriting the product
Next, hunt for problems that were in the scene, not in the item: a stray thread, a piece of tape, a scuffed sweep, or a reflection from a clamp. ImageFlow offers content-aware fill for small removals. Work in short passes and inspect the repaired area at 100%. If the fill damages an edge or repeats a texture awkwardly, undo it and leave the imperfection for a reshoot or manual retouch.
The same restraint applies to lighting. Adjustment layers can make exposure and white balance more consistent without baking changes into the original pixels. Keep the real color as your reference. That protects the customer experience and supports downstream choices such as keeping swatches consistent on product and collection pages.

A sensible layer stack is simple: source image at the bottom, cleanup above it, a mask where needed, and separate adjustment layers at the top. Name the layers while the task is small. A future campaign variation is much faster when you can see what changed. For more involved work, ImageFlow can import and export PSD and PSB files; test an important, complex file before making a browser round trip your only production path.
Build the background deliberately
If the marketplace calls for a plain background, place a solid color or neutral sweep on a layer behind the masked product. Do not assume pure white is always right—use the listing rules for that channel. Check the silhouette against the chosen background, then turn the background off and on. That tiny toggle catches leftover haloing and semi-transparent edges quickly.
For a campaign image, keep the product master separate from its creative variants. A clean catalog file can later become the source for an ad or a video test, but its primary purpose is clarity. If you are adding video later, this one-objection UGC workflow is a useful reminder to let one visual make one claim.
Run a five-minute export check
Before export, use this short checklist:
- Truth: Compare the on-screen item to the source. Have color, texture, dimensions, labels, or accessories changed?
- Edges: Zoom into the mask around logos, holes, fine details, and contact points.
- Background: Check for halos, harsh cut lines, or accidental transparency.
- Crop: View the image at the marketplace’s likely thumbnail size. Is the product still easy to identify?
- File: Export the required dimensions and format, then reopen the export once—not the working canvas—to catch surprises.
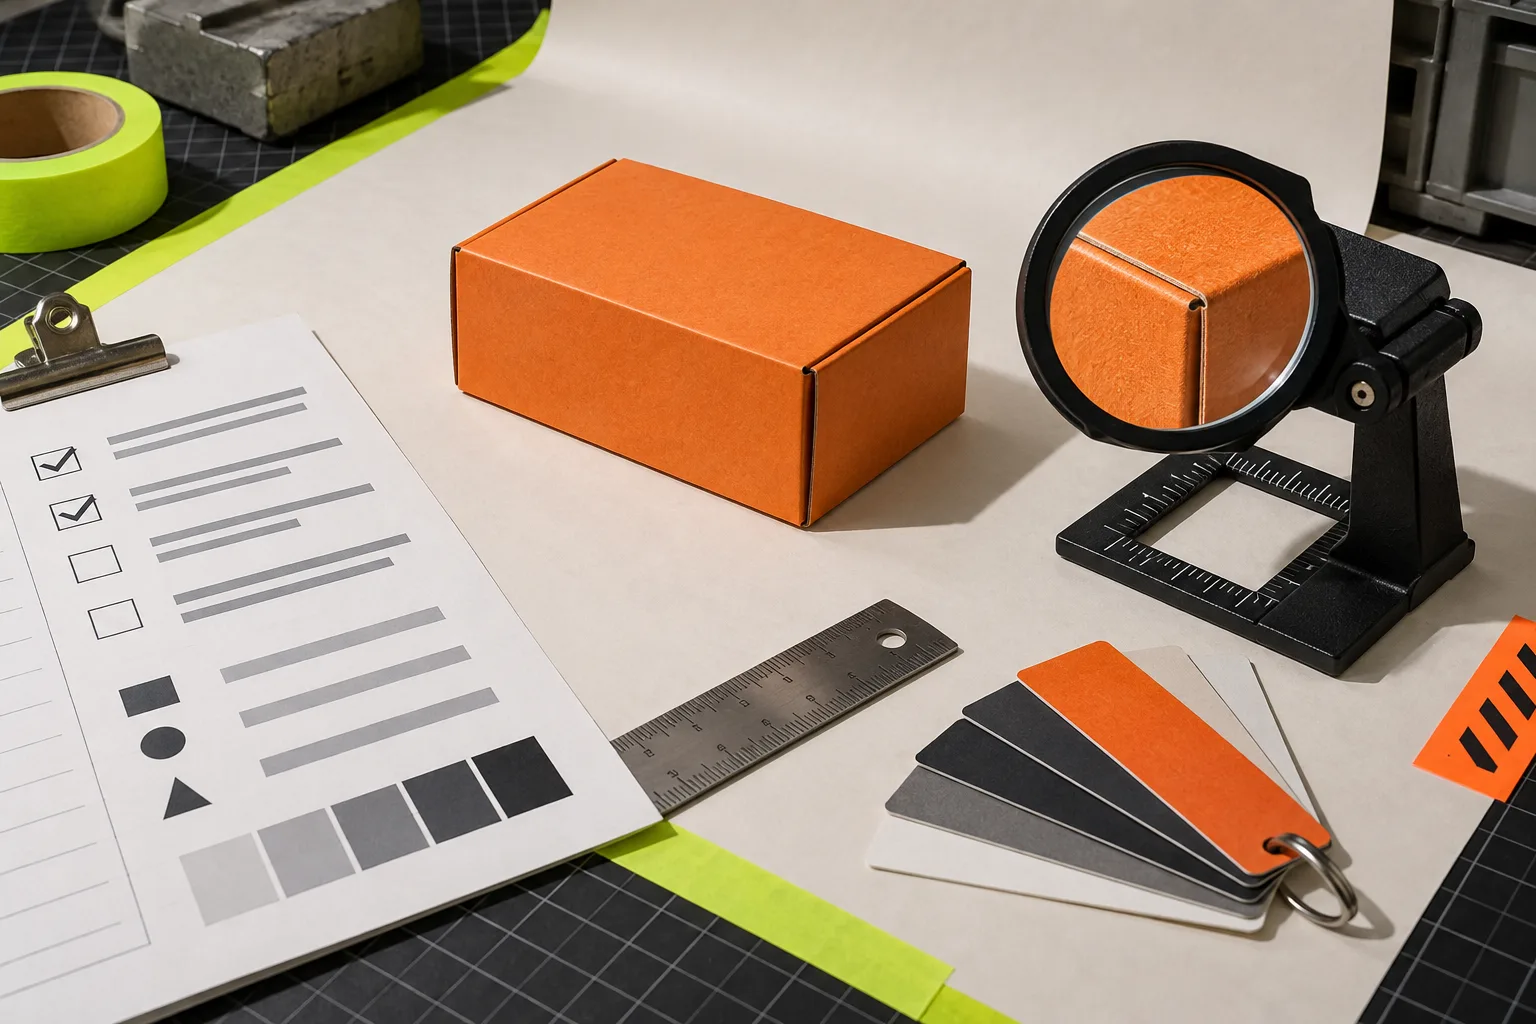
A final reopen matters because an attractive editing view can hide compression artifacts or an accidental crop. It is the image equivalent of testing a storefront change before pushing it live. The broader habit is useful elsewhere too: this swatch QA checklist before theme changes uses the same idea of checking the customer-facing result, not just the setup.
Keep the editable master
Export the marketplace JPEG or PNG, but keep the working document with its masks and adjustment layers. That gives you a clean way to make a square crop, a collection image, or a seasonal background later without starting from a flattened guess. ImageFlow is especially practical here because the file stays in an editable browser workflow for ordinary edits, while you retain control over what you export.
The best first test is modest: open one real product photo in ImageFlow, remove one distraction or refine one edge, and inspect it at full size before publishing. If the result makes the listing clearer without making the product less true, you have the workflow you need.