The 15-Minute 3D Capture Readiness Test for Shopify Products
Use a fast, practical readiness test to find Shopify products that are worth scanning into interactive 3D first.
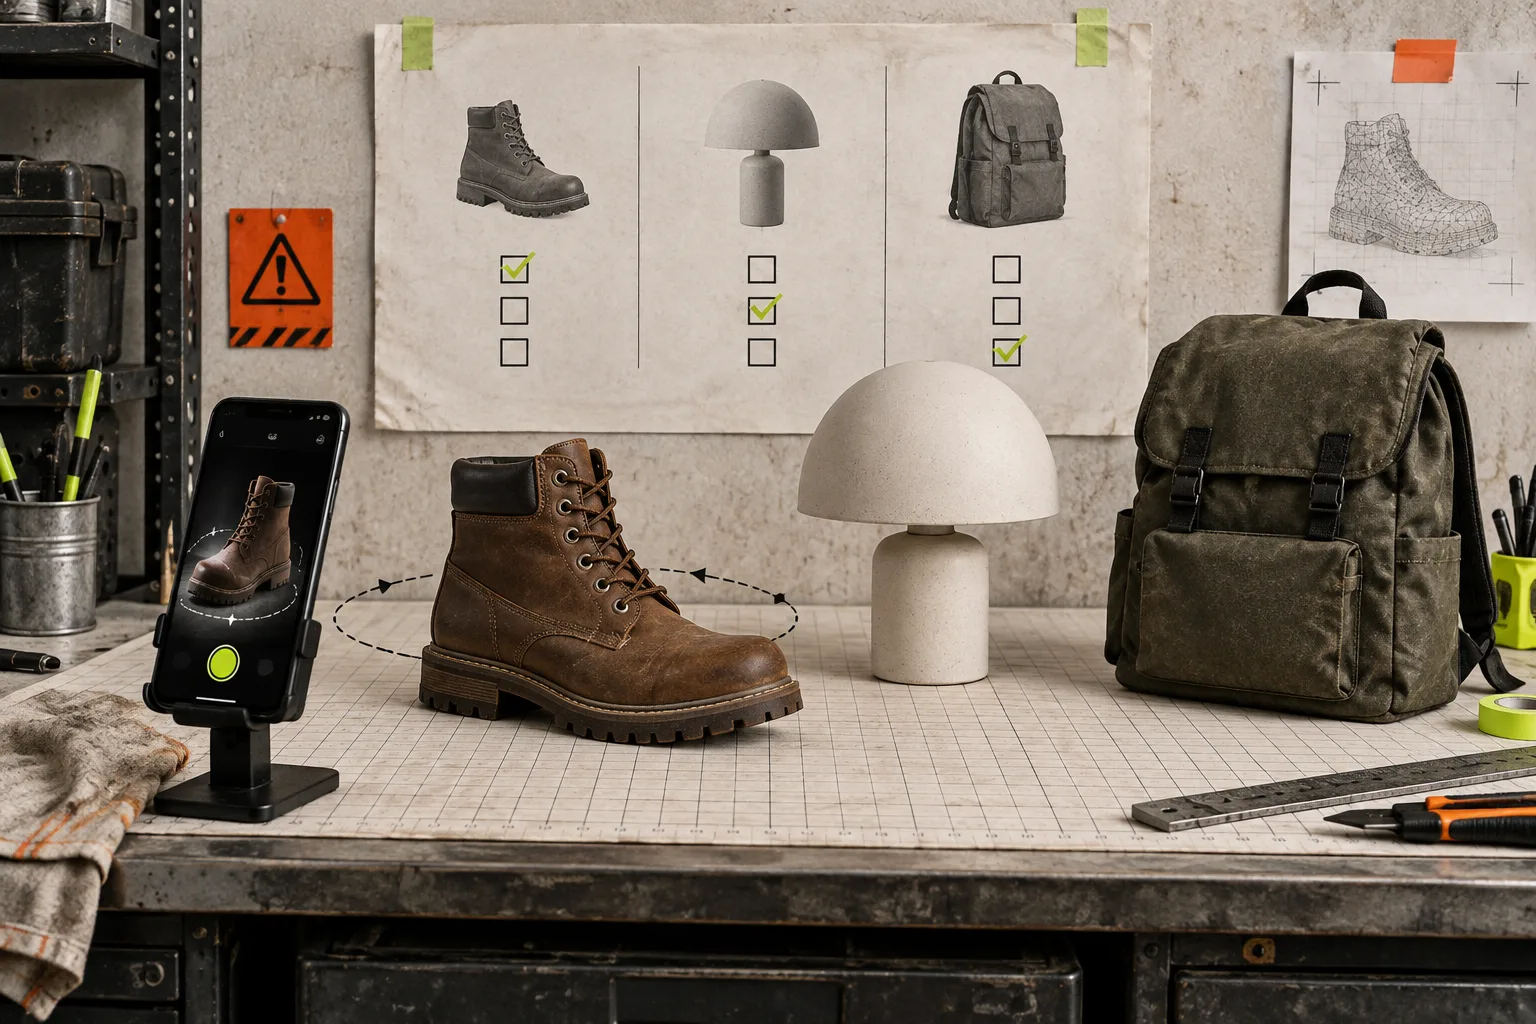
Static product photos are usually good enough—until the shopper needs to understand thickness, texture, scale, or what the product looks like from the side. That does not mean every SKU needs a 3D model. It means you need a fast way to find the few products where interactive 3D will earn its place.
Here is the 15-minute readiness test I would run before opening a capture session. It is deliberately more practical than a broad what should we scan first? debate: it checks whether one actual product can be captured cleanly, published safely, and useful to a shopper.
Put one real SKU on the bench
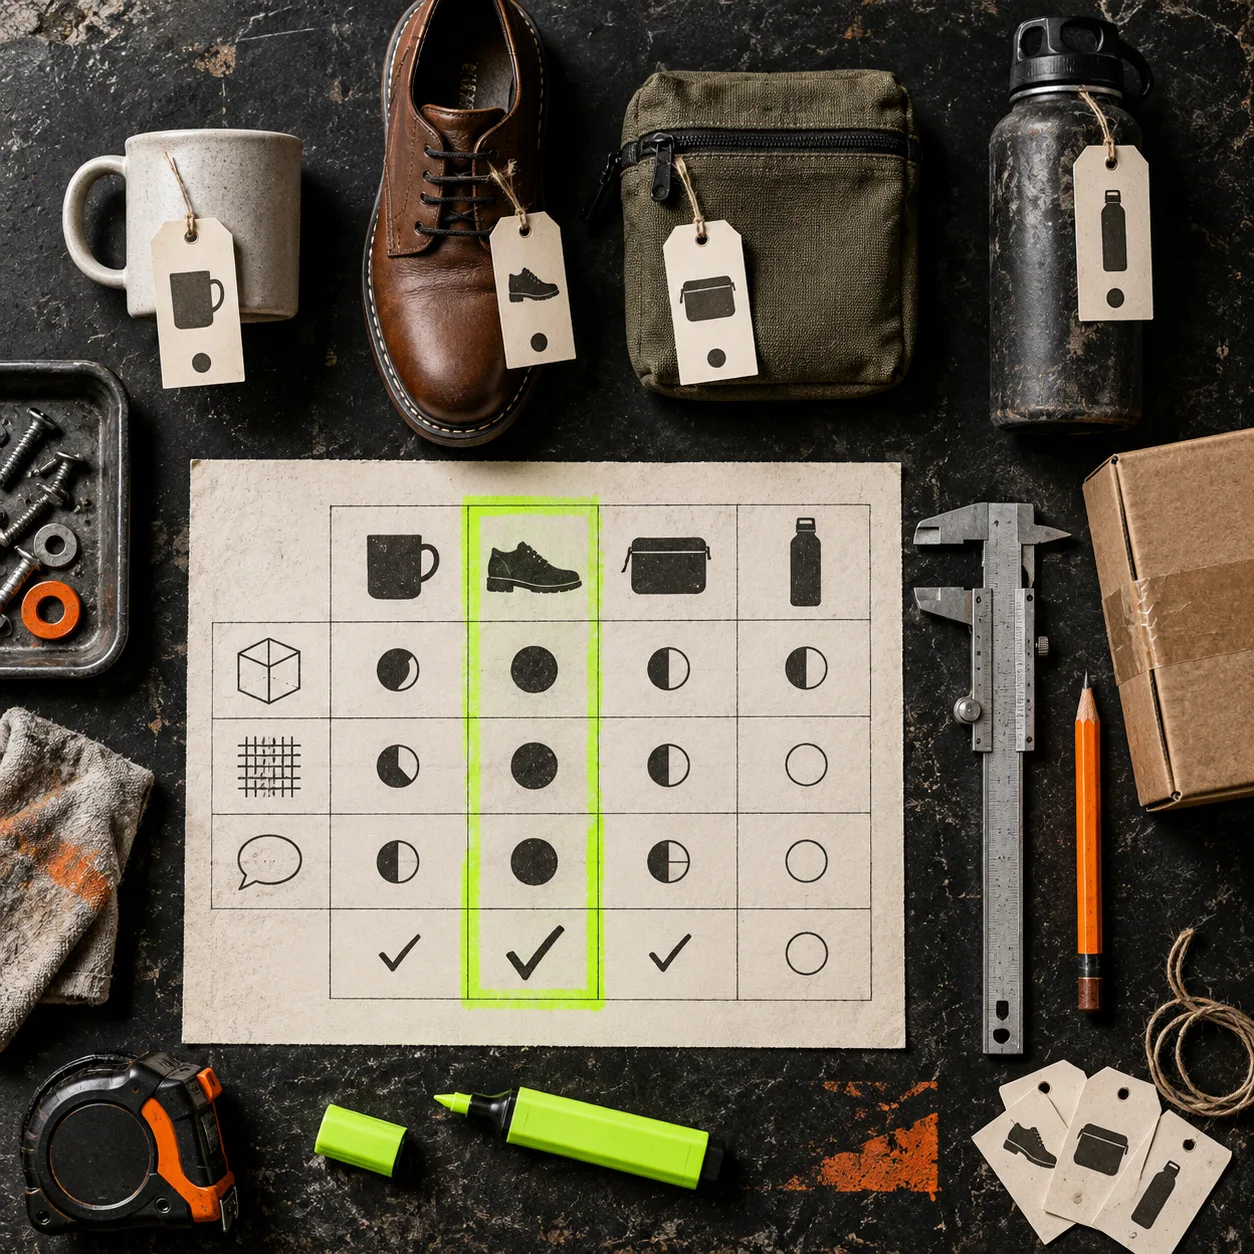
Pick a product you can physically touch today. Avoid starting from a category idea like “all bags” or “our furniture line.” The test needs a real sample, its existing product page, and the photos you already use.
Give the SKU one point for each of these conditions:
- Shoppers ask angle questions. “How deep is it?”, “What does the back look like?”, and “Will this fit on my shelf?” are strong signals. A spin-able model can answer those questions better than another front-facing image.
- Shape or material carries the decision. Structured bags, footwear, lamps, tools, ceramics, and products with visible texture often benefit because a flat gallery hides useful information.
- The product is stable and easy to light. A rigid item that can sit still under even light is a better first scan than a floppy, reflective, translucent, or furry item. Those harder surfaces are not impossible; they are just poor pilot candidates.
- The existing product page already works. Do not use 3D to rescue bad photos, missing specifications, or a confusing offer. First make the core gallery usable. If the source photos themselves need work, use this guide on when to upscale rather than replace a Shopify product photo as a useful checkpoint.
- You can name the job for the model. The job might be “show the heel profile,” “make the clasp understandable,” or “let shoppers inspect the lamp’s base.” “Make the page cooler” is not a job.
A four- or five-point SKU is a strong pilot. Two or three points means you probably need better lighting, a clearer question, or another product. Zero or one means move on—there is no prize for forcing a difficult scan.
Run the capture check, not a production shoot
For a viable candidate, prepare a small repeatable setup: clean the product, put it against a simple non-reflective background, and use soft, even light. Then walk around it at a consistent distance. Your goal is overlap between photos, not a cinematic sequence.
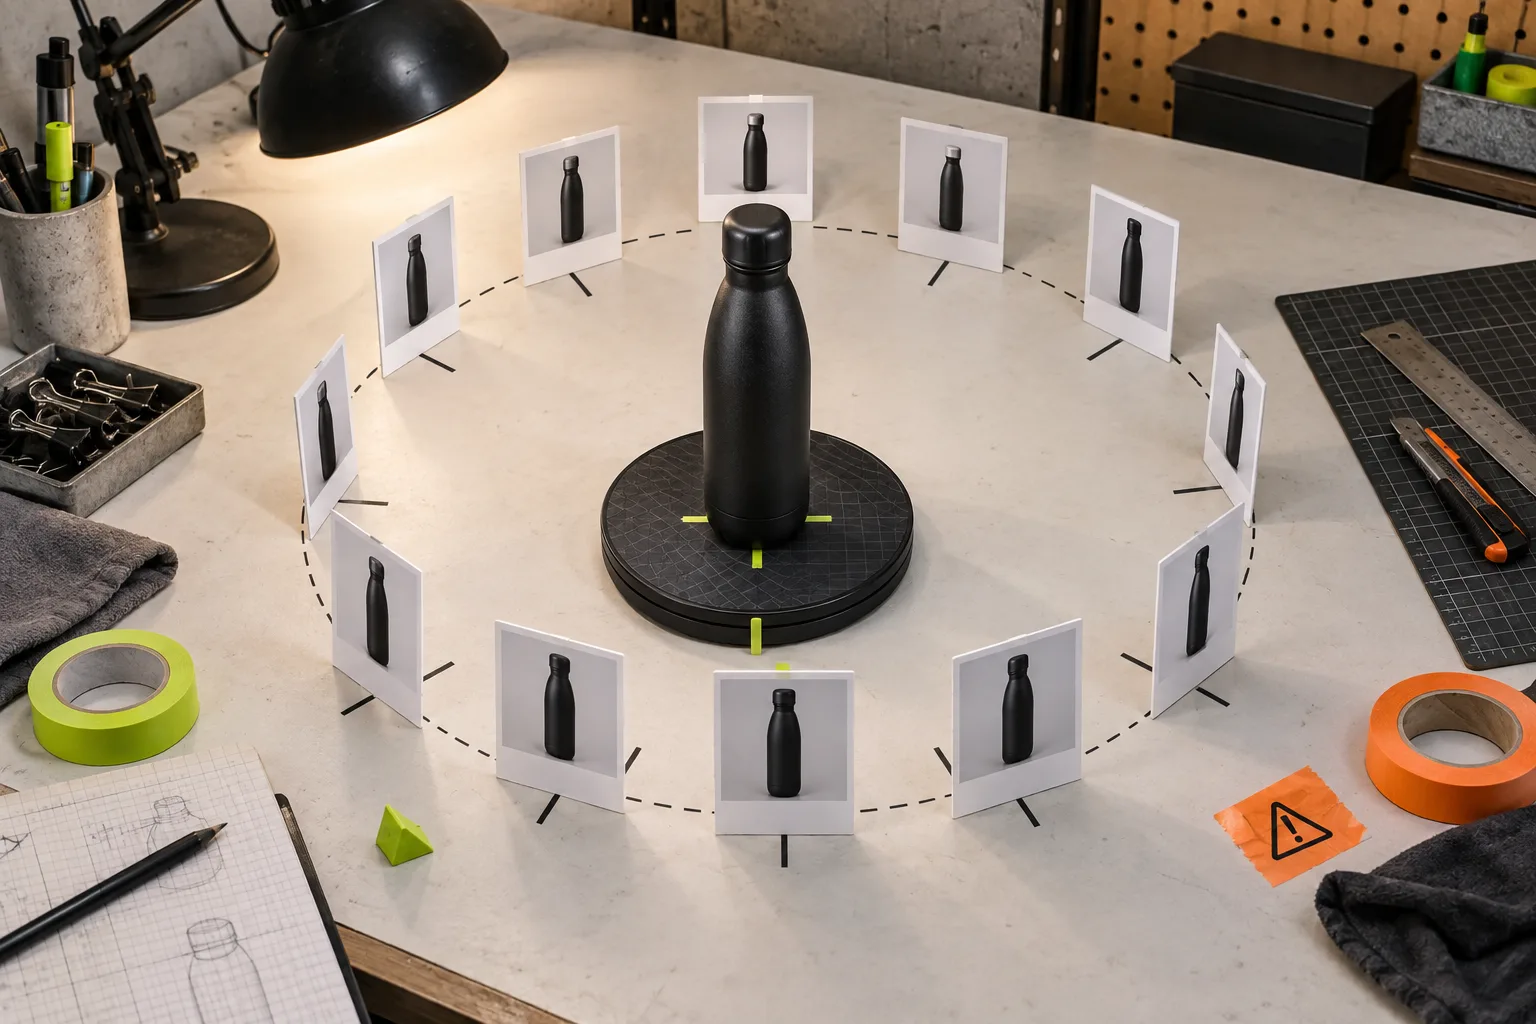
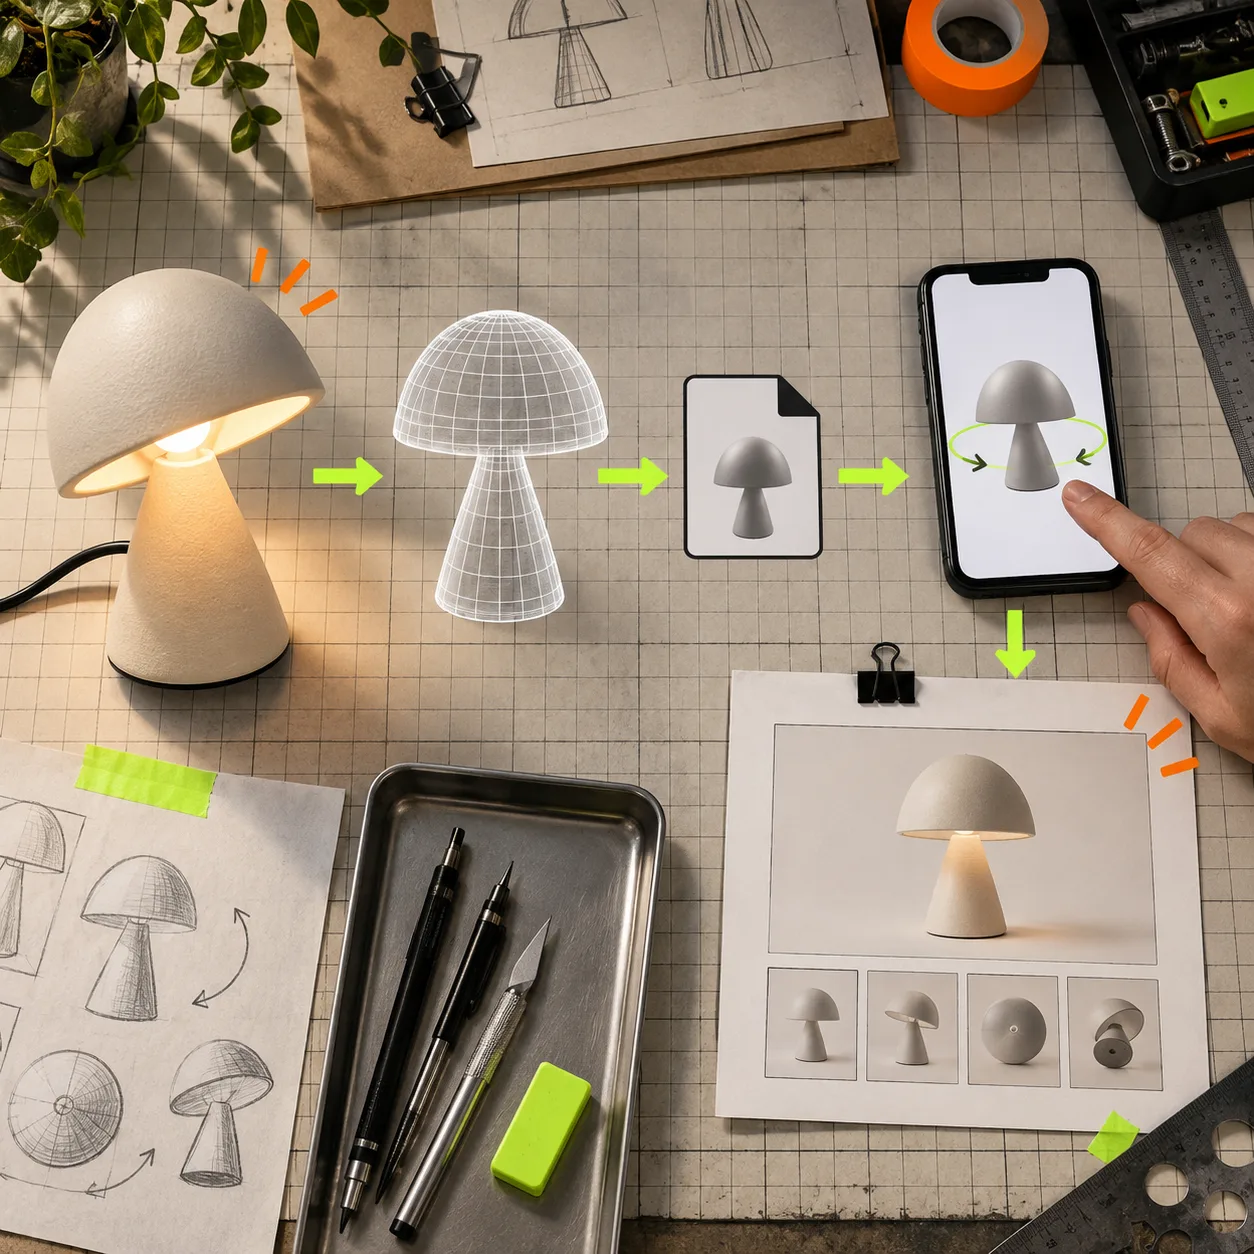
With Supra 3D Capture, the process is built around a guided phone capture: take 10 or more photos as you orbit the product, let the service reconstruct a web-ready GLB, then publish it to Shopify. A regular smartphone and a well-lit product are enough for the test; you do not need LiDAR or a 3D artist.
This is where the readiness test catches the expensive mistakes. If you cannot keep the product in frame, you have shiny glare, or important details disappear from one side, stop and adjust the setup before processing. A short retake is cheaper than trying to explain a lumpy model away later. For a fuller first-pass routine, see how to capture your first Shopify 3D model with a phone.
Check the result against the shopper question
When the model is ready, do not only inspect whether it looks technically impressive. Rotate it and ask the question that earned the SKU a score. Can you see the heel? Does the bag’s depth make sense? Does the lamp’s base read more clearly than it did in the gallery?
If the answer is no, the model may still be decent, but it is not doing a useful job. Keep the original photos and specifications; 3D complements them rather than replacing them. That is particularly important for color, finish, dimensions, and details that shoppers must see in a fixed close-up.
Publish it where it can actually be used
The final check is operational. Supra 3D Capture can attach the GLB to Shopify product media for the native 3D viewer, or you can place it with its Online Store 2.0 theme app block. Before treating the pilot as finished, preview the page on desktop and phone, make sure the regular image gallery still has a clear first image, and confirm the interactive model loads without interrupting the buying path.
Use a small release checklist:
- The model answers the stated shopper question.
- The photos, price, variants, and specifications remain easy to find.
- The theme supports the placement you chose.
- Someone outside your team can rotate it and tell you what changed in their understanding.
If you need the implementation details after the capture test, this walkthrough on adding a Shopify 3D model shoppers can actually use is the right next read.
Keep the pilot narrow
Do not turn a successful first scan into a mandate to model the whole catalog. Start with one high-confidence SKU, publish it, then watch for useful signals: fewer pre-purchase angle questions, more confident customer feedback, or less uncertainty about fit and shape. Those signals are more valuable than an abstract promise of conversion lift.
If the pilot proves its job, move to the next SKU using the same scorecard. The Supra 3D Capture Shopify app has a free plan with three scans per month and one saved model, which makes it reasonable to validate the workflow before committing to a larger catalog.
The point of interactive 3D is not to add a novelty widget. It is to close one specific expectation gap. Run the 15-minute readiness test on the product that gets the most “what does it look like from the other side?” questions, then make that one answer easier to explore.