How to Choose the Right Measurements for a Shopify Size Chart
A practical guide to choosing useful garment, footwear, and accessory measurements for Shopify size charts shoppers can use.
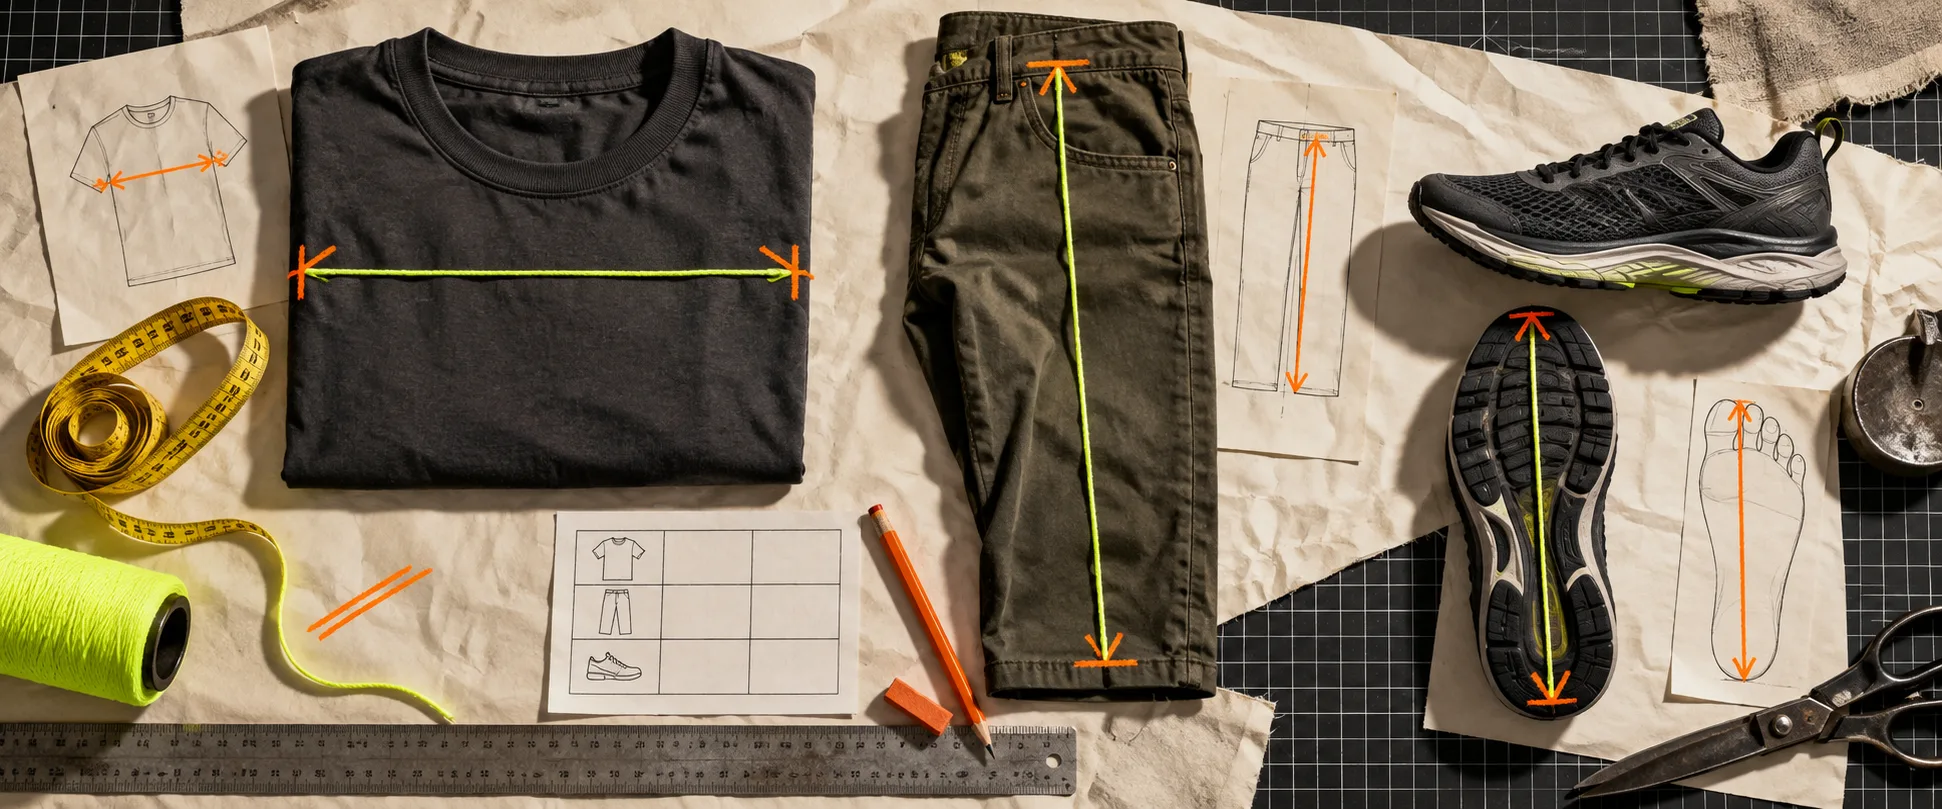
A size chart fails long before a shopper sees it. It fails when the chart answers a measurement question the shopper never had—or leaves out the one that decides whether the item fits.
The fix is not to add every dimension you can measure. It is to choose the few measurements that map to the way the product fits, then explain exactly how they were taken. This field guide is a quick way to make those choices before you build or refresh a Shopify size chart.
Supra Size Chart is useful here because it keeps charts, measurement guides, and assignment rules in one Shopify-native system. Create a chart once, attach a labelled measurement guide, and apply it to the product families that actually share a fit.
Start With the Fit Decision
Ask one question: what would make a shopper reject this size after it arrives? For a tee, it may be chest room. For trousers, it is often waist and inseam. For shoes, a familiar label is less useful than a reliable foot-length reference.
Then decide whether you are publishing garment measurements, body measurements, or both. A garment chart measures the item laid flat. A body chart tells a shopper which body range a size is intended to serve. Both can work, but mixing them without a label creates a small, expensive mystery.
If you use garment measurements, say so plainly and add a brief tolerance note if fabric stretch or hand-cut variation matters. If you use body measurements, make the measurement method visible. A good measurement guide turns “chest” or “waist” from an ambiguous column heading into a usable instruction.
Use a Short Measurement Set for Each Product Type
Tops, knitwear, and outerwear
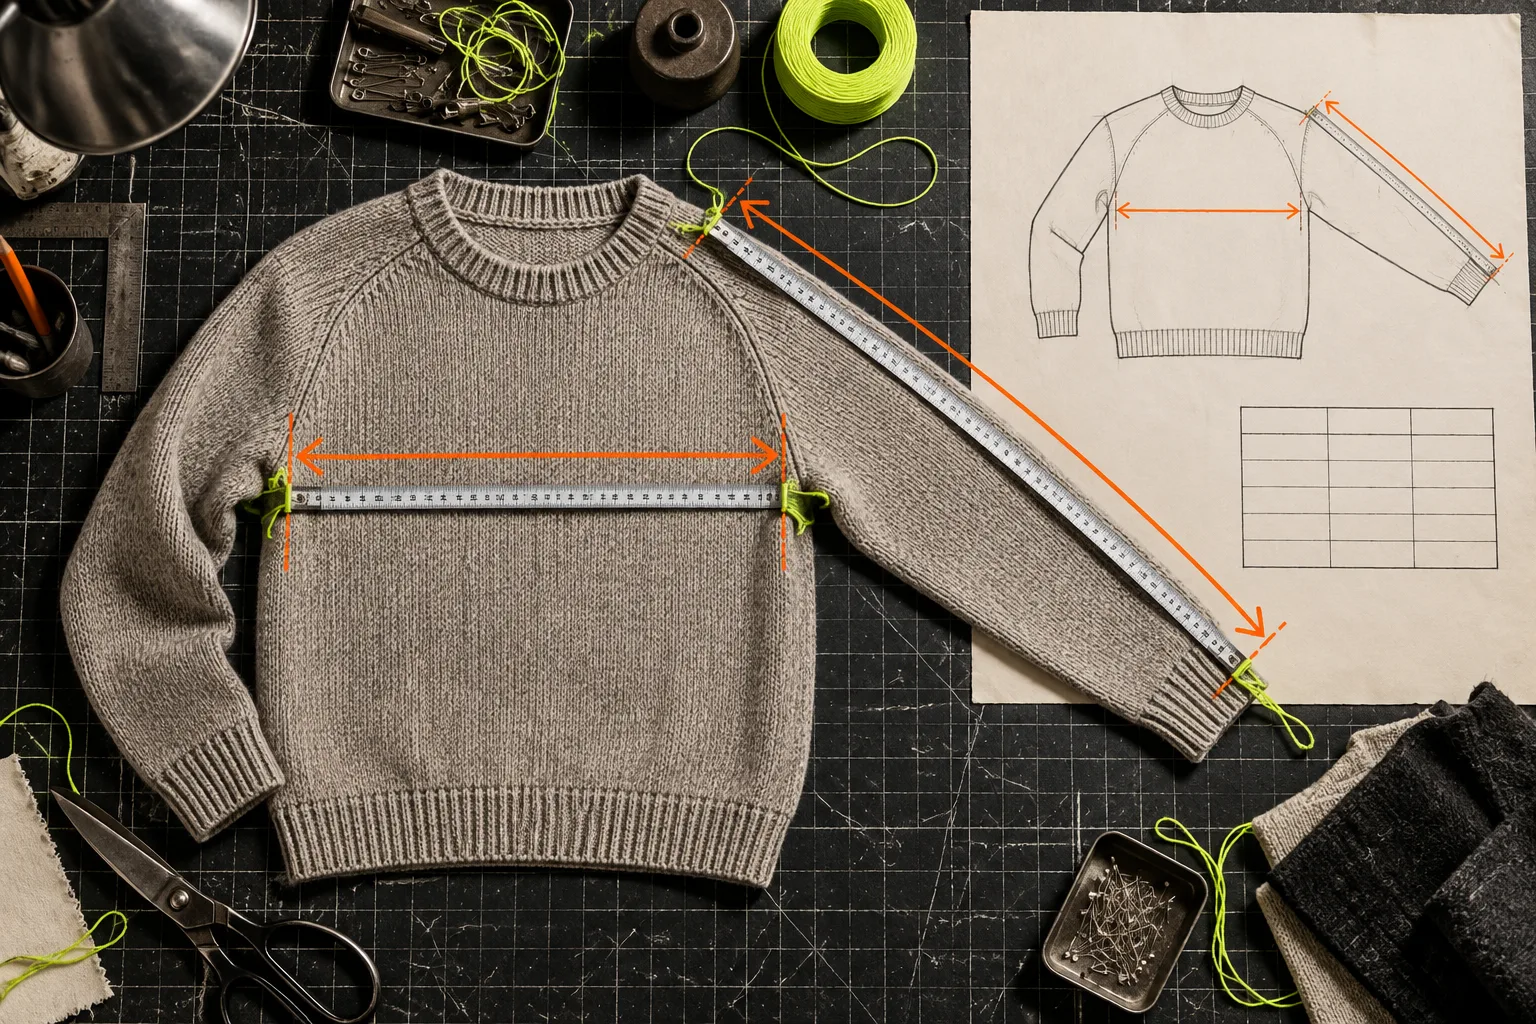
For most tops, start with chest width, body length, and sleeve length. Add shoulder width when the shoulder construction is important to the fit, such as a structured jacket. For a roomy sweatshirt, an underarm-to-underarm flat measurement is usually more helpful than a long list of body dimensions.
Outerwear deserves a second look. A lined coat or work jacket may need chest, shoulder, sleeve, and body length because layers change the buying decision. State whether the garment was measured zipped, buttoned, or laid open. The method matters as much as the number.
Trousers, shorts, and skirts
For bottoms, waist and inseam are the essentials. Rise belongs in the chart when high-rise, mid-rise, or low-rise is part of the product’s promise. Hip width is valuable for fitted trousers and skirts; leg opening is useful for a silhouette where taper or boot cut is a real differentiator.
Avoid a generic “length” column when you mean inseam. Those are different things, and shoppers know it. If the product has adjustable tabs, elastic, or a belt, explain the range rather than implying one fixed waist measurement.
Footwear
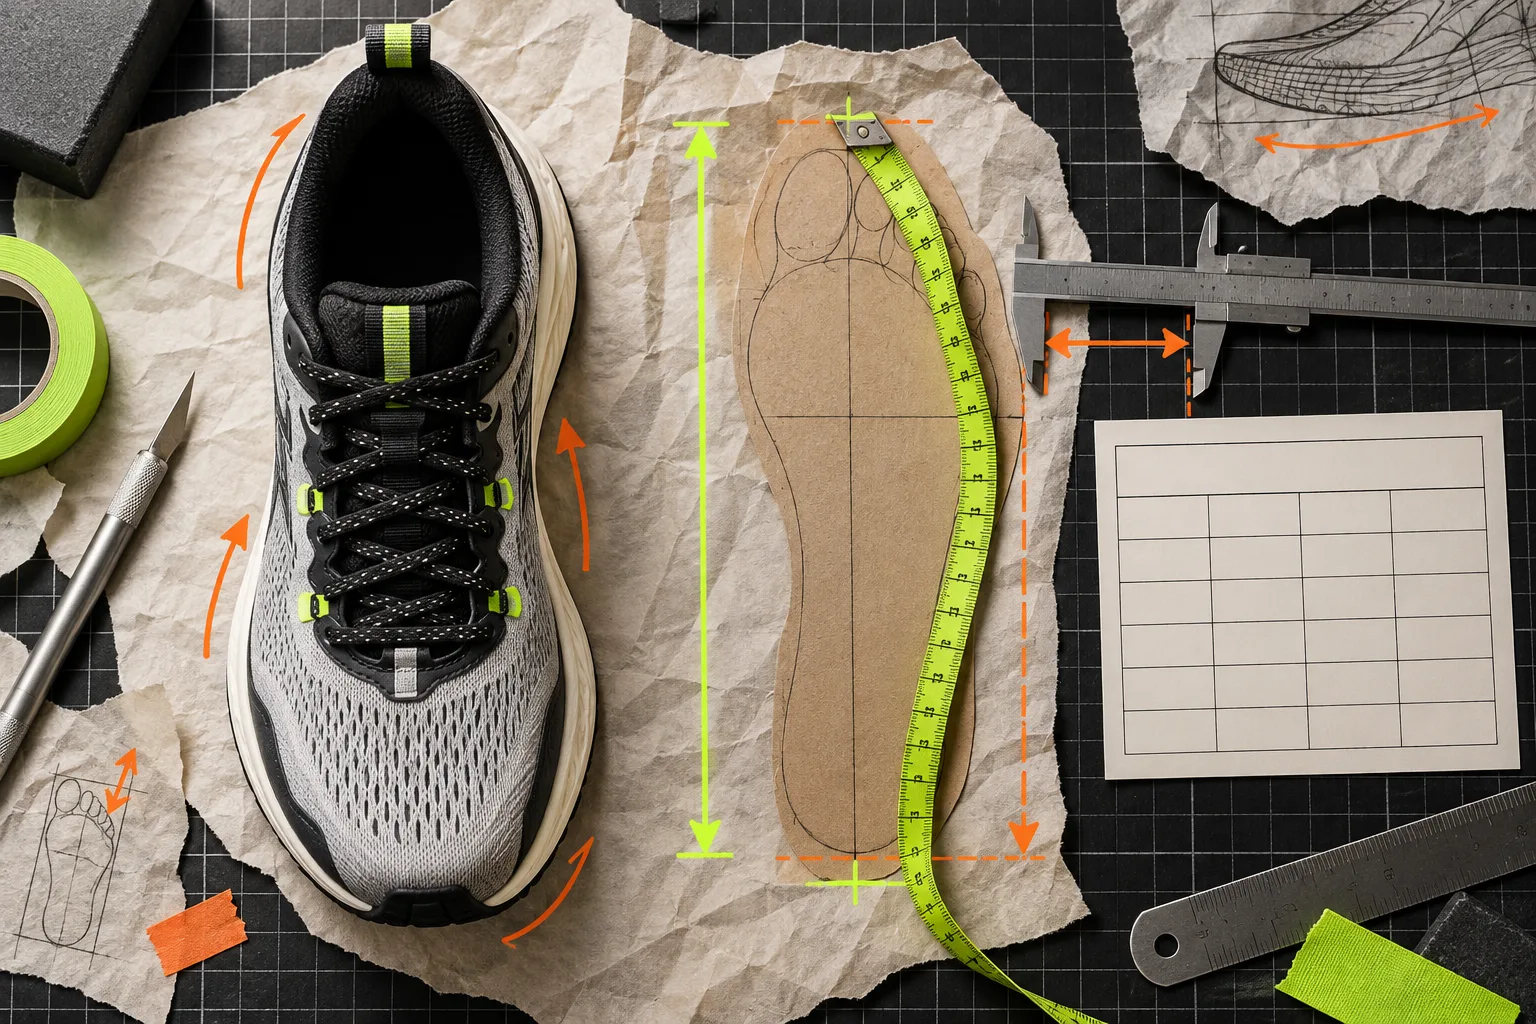
Footwear needs its own logic. Include the brand size plus foot length in centimetres or inches; add width when the shoe is narrow, wide, or structured. A simple foot-length method—stand on paper, mark heel and longest toe, then measure—gives shoppers something they can verify at home.
Make unit choice easy. If you sell internationally, providing both systems avoids needless conversion errors; this guide on showing centimetres and inches covers the display side. Supra Size Chart can add an optional shopper-facing metric/imperial toggle rather than forcing two copied tables into the description.
Accessories
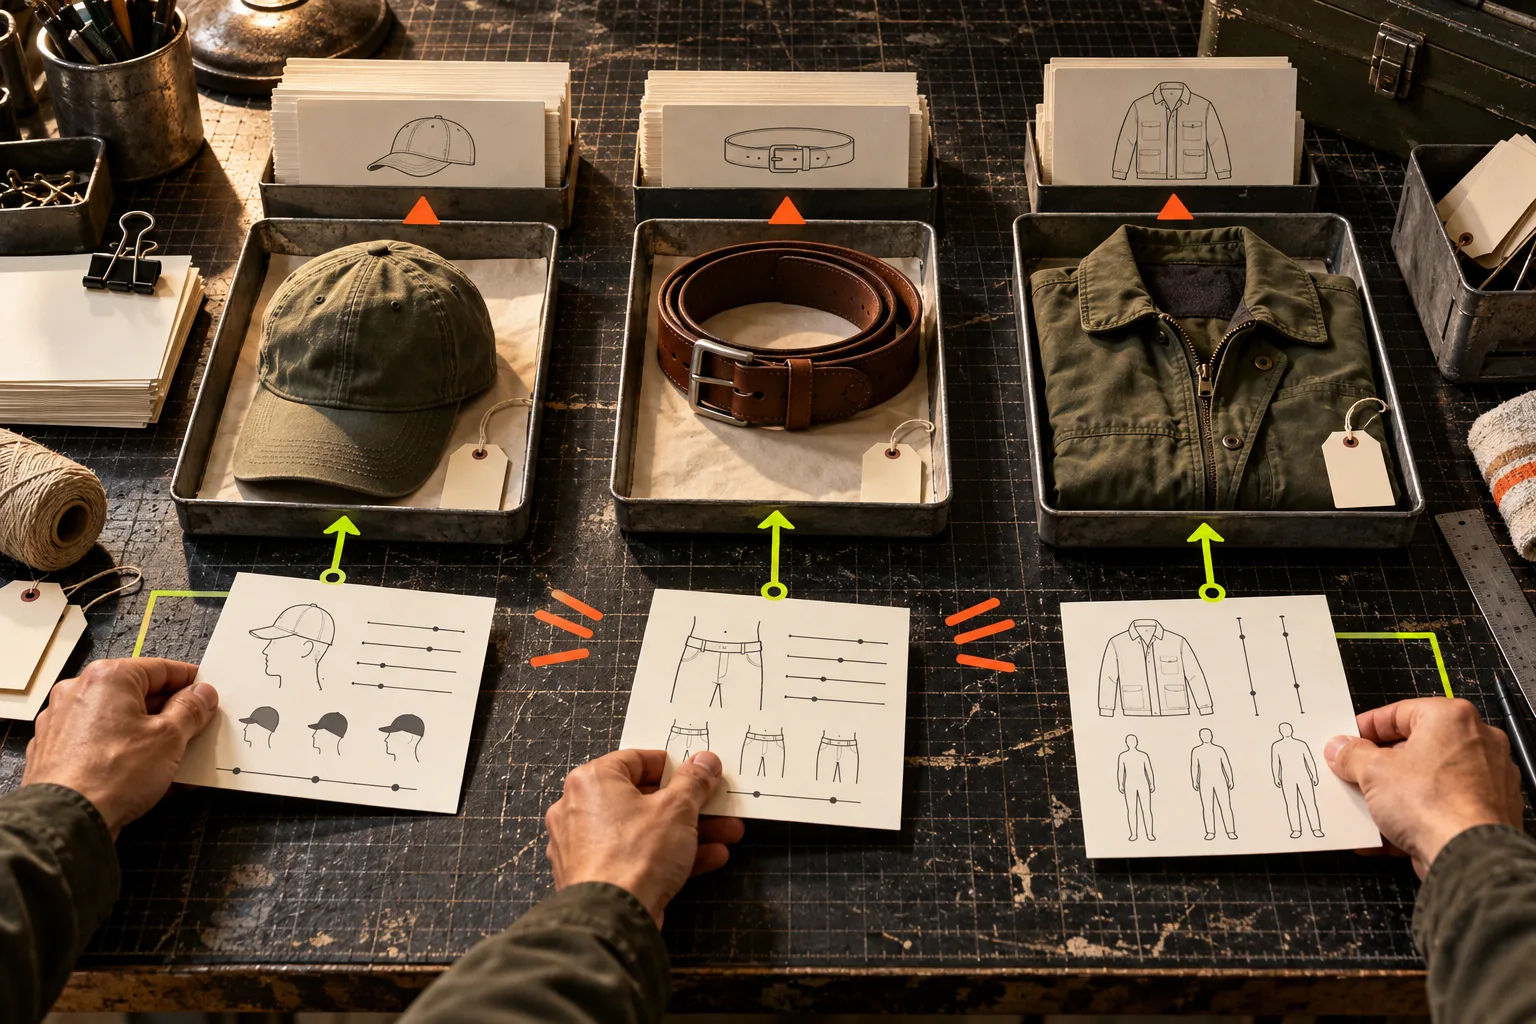
Accessories often need fewer columns, not more. A belt needs the usable waist range and a note explaining which hole or span the measurement represents. A hat needs head circumference. Gloves need palm circumference and sometimes hand length. Rings need an internal diameter or circumference with a measurement method.
The useful pattern is simple: choose the dimension that physically governs fit. Do not borrow a clothing chart just because the accessory sits in the same collection.
Split Charts When the Fit Changes
One chart can serve many SKUs—but only when the construction and fit logic are genuinely shared. A regular tee and an oversized tee may need separate charts even when their labels both run S through XL. The same is true for women’s and men’s footwear, slim and relaxed trousers, or a one-size cap and an adjustable cap.
This is where a rule-based chart system pays off. With Supra Size Chart, you can assign a chart by product, collection, product type, vendor, or tag, then let new matching products inherit it automatically. You keep one source of truth without pretending unrelated products fit the same way. For a broader check before publishing, use this Shopify size-chart audit.
Make the Chart Easy to Use on the Product Page
A correct chart is still useless if it disappears in a mobile accordion or requires side-scrolling through ten columns. Keep the first view tight, use familiar abbreviations only when they are defined, and put the measurement guide next to the table. This companion guide explains how to make Shopify size charts easier to read on mobile.
Before launch, test with one real product page and one person who did not build the chart. Ask them to identify the measurement they need, take it, and choose a size. If they pause at the table heading or the measuring point, improve the chart—not the shopper.
The Practical Setup
Create one clean chart per fit family, use only the measurements that drive the decision, add a labelled guide, and assign the chart with a rule. That is enough to make sizing information more consistent without hand-editing product descriptions all season.
Install Supra Size Chart from the Shopify App Store to build the system once, keep the data in Shopify metaobjects, and export it as CSV or JSON when you need it. The app is free, with unlimited charts, rules, and display modes.